Beginner's Guide to MongoDB Atlas
Create account on Cloud and configure MongoDB atlas to use in projects


MongoDB, a popular NoSQL database, can be self-managed or hosted and managed by MongoDB. In this guide, we'll briefly explain both options and then focus on using the managed version provided by MongoDB.
Self-Managed MongoDB
With self-managed MongoDB, you are responsible for setting up, configuring, and maintaining the database on your own servers or cloud infrastructure. This option gives you more control and flexibility over your database, allowing you to customize configurations according to your specific needs. However, it also requires a good understanding of database administration and infrastructure management.
Managed MongoDB by MongoDB Atlas
Managed MongoDB, offered by MongoDB through MongoDB Atlas, provides a cloud-based, fully managed solution. MongoDB Atlas takes care of the infrastructure, scaling, backups, and other administrative tasks, allowing you to focus on building and managing your application. It's a great choice for beginners or those who want a hassle-free, scalable, and secure MongoDB experience.
In this guide, we'll focus on using MongoDB Atlas, the managed version of MongoDB, for its ease of use and convenience.
Using Managed MongoDB by MongoDB Atlas
Signing up for MongoDB Atlas
To start using MongoDB Atlas:
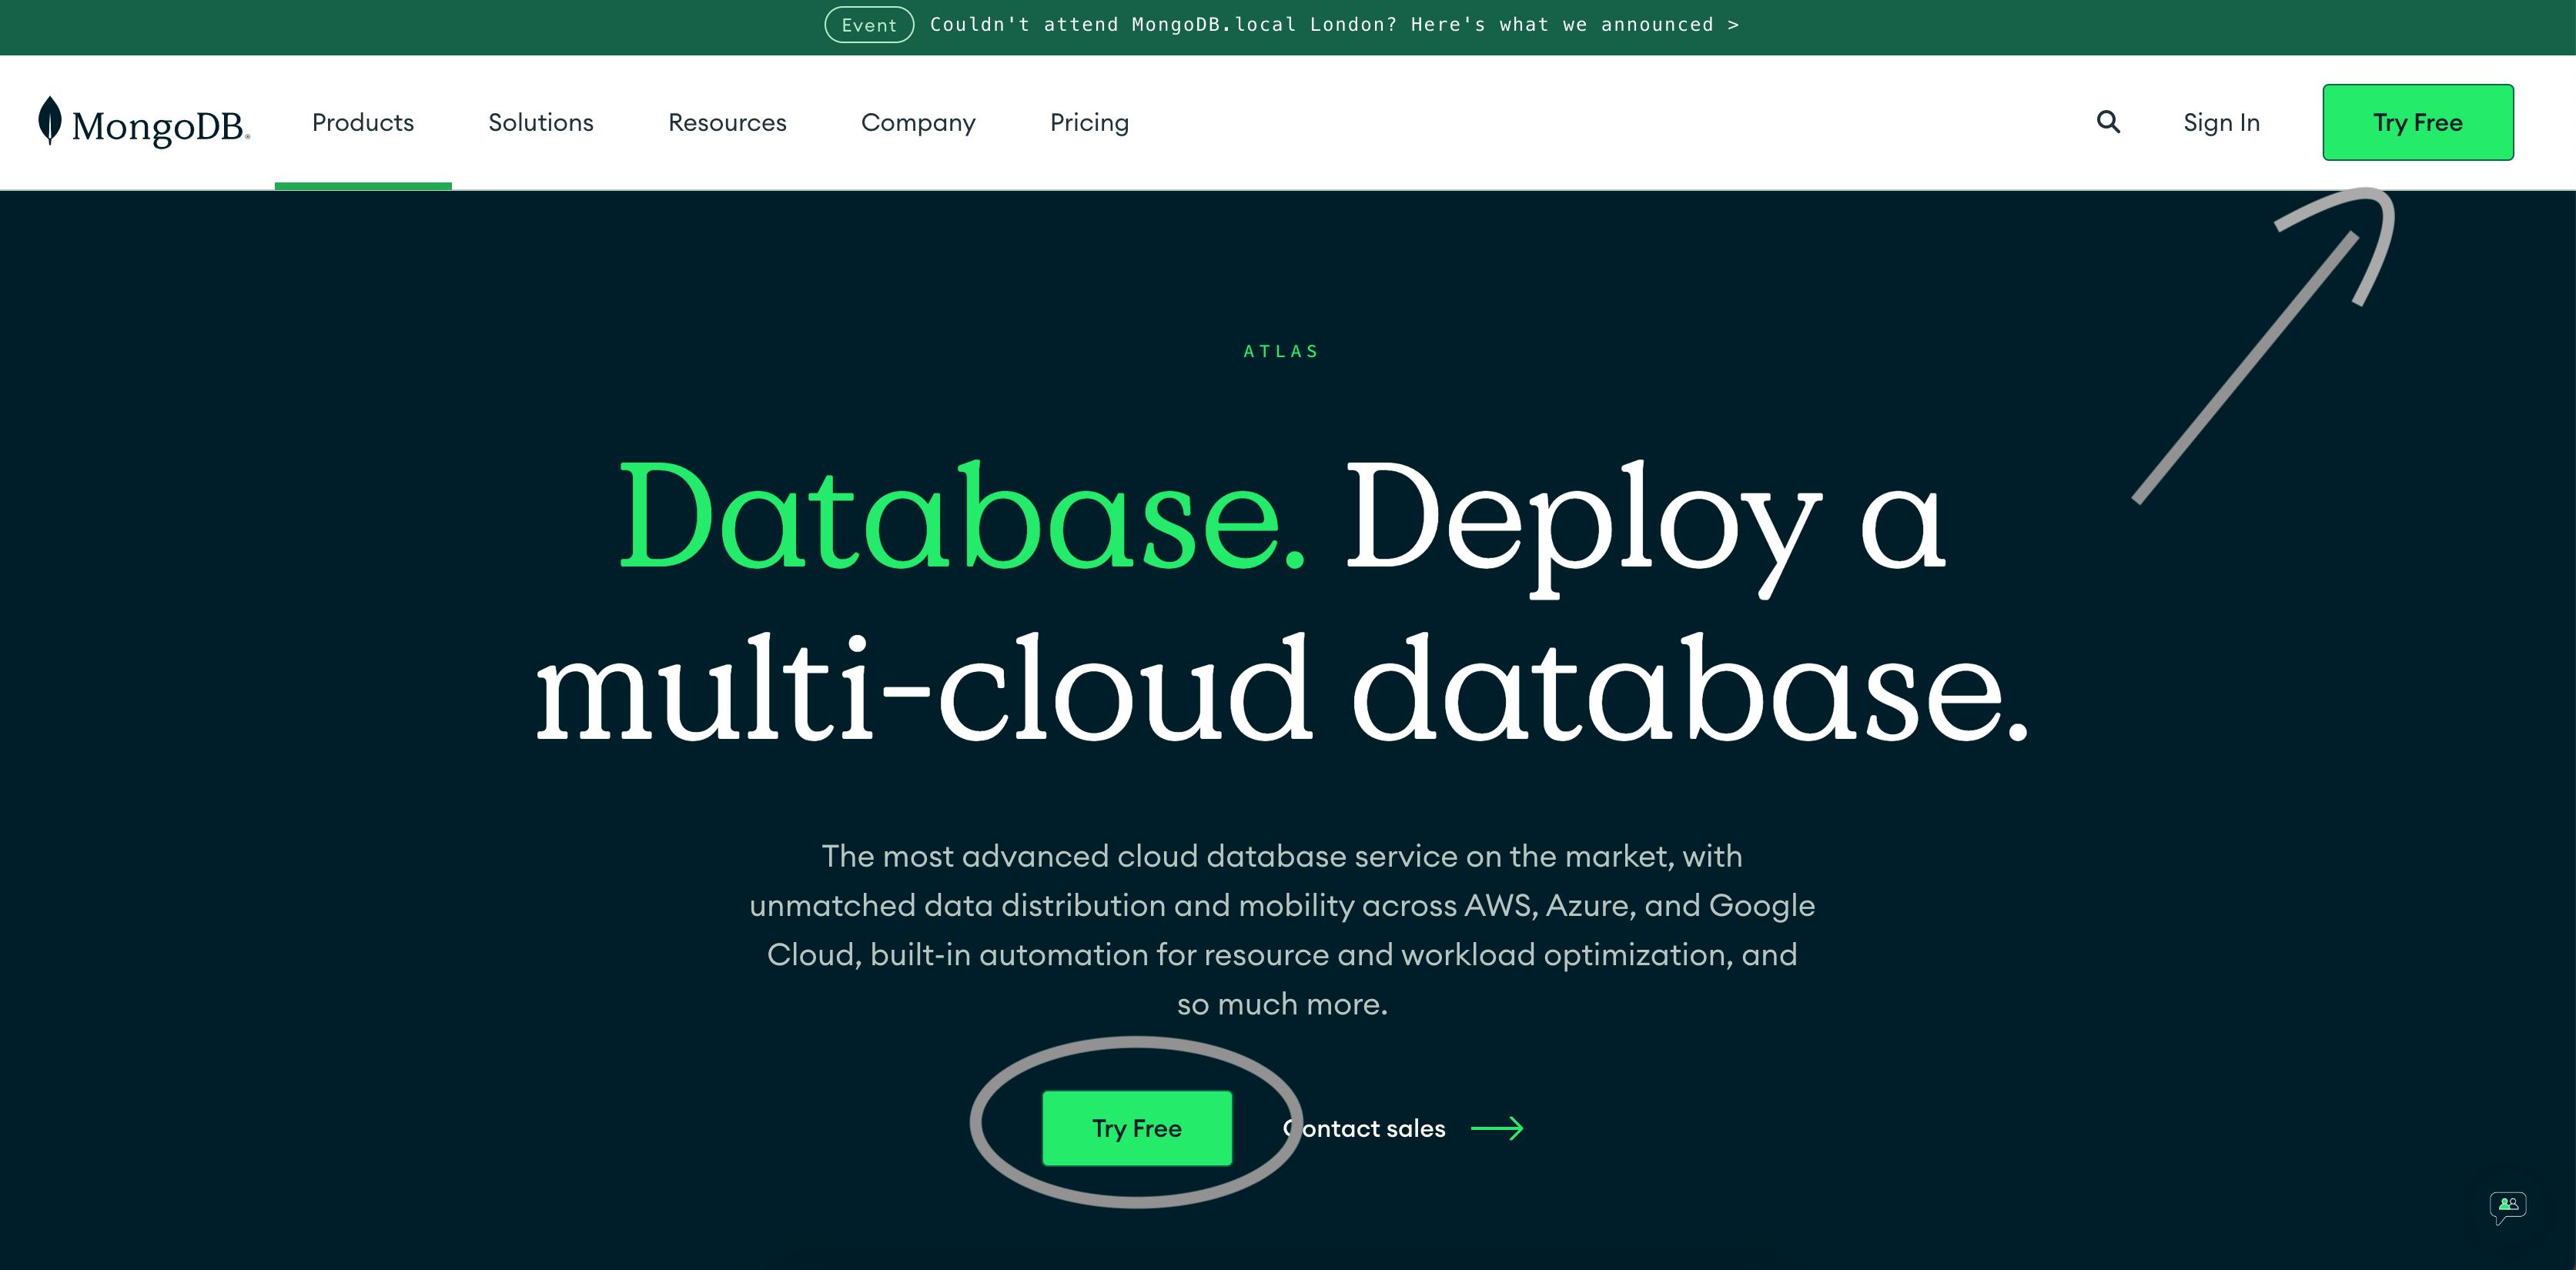
Go to the MongoDB Atlas website and click on "Try Free".
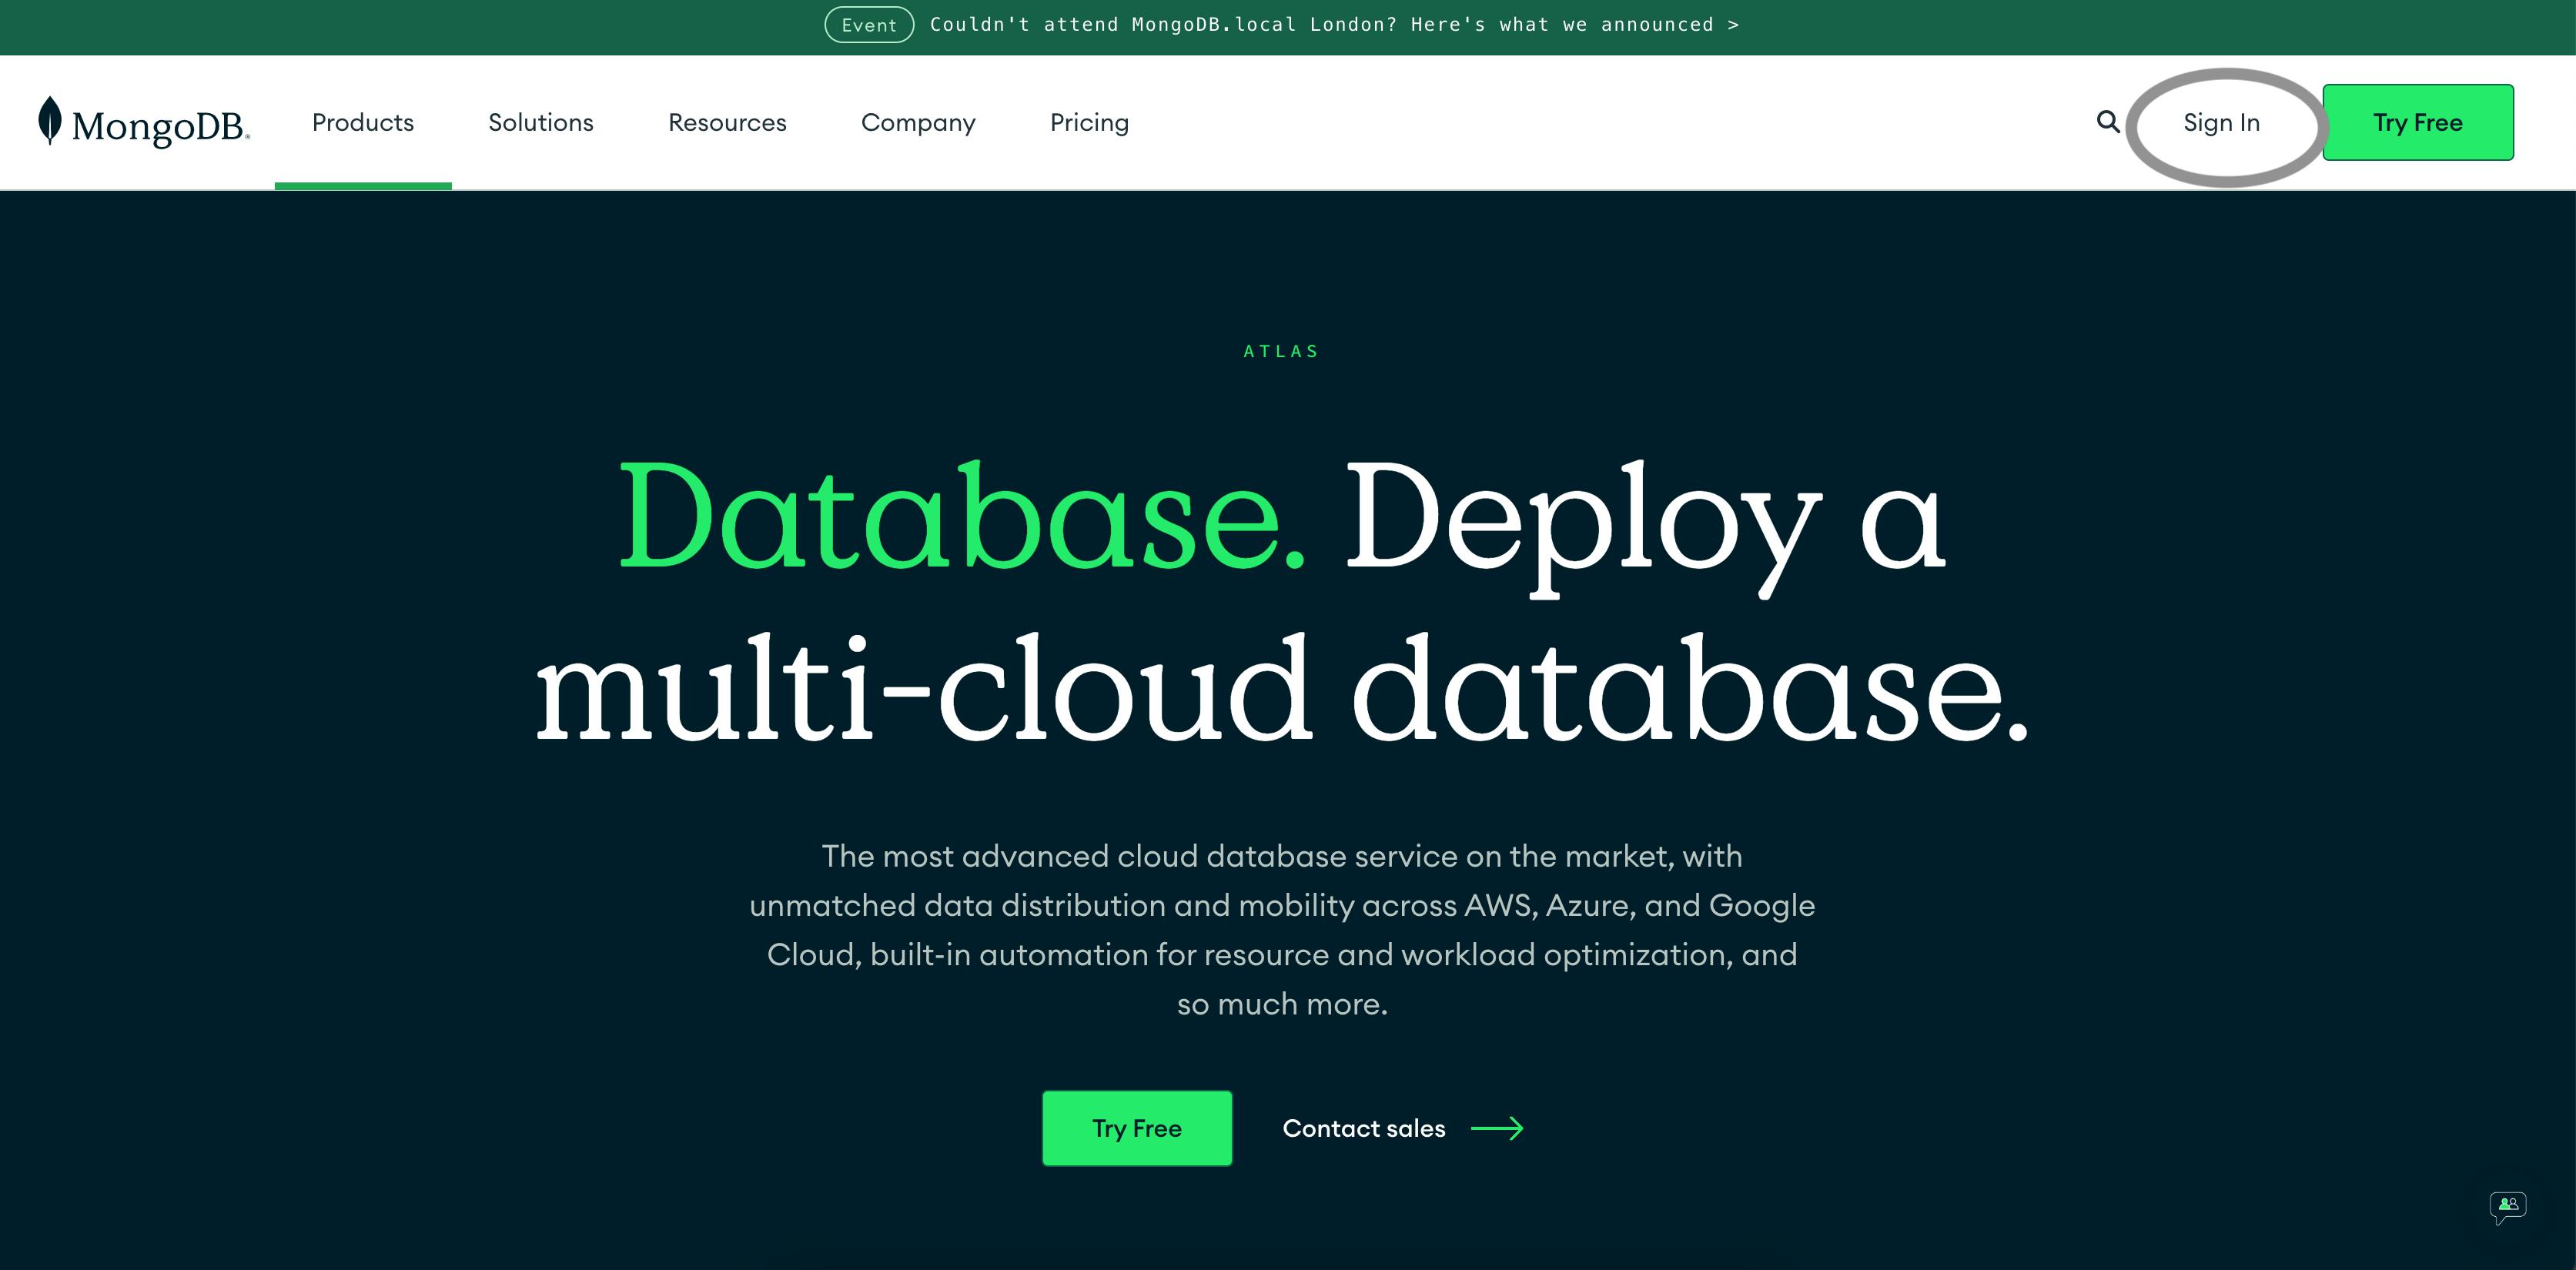
If you already have an account then click on Sign In
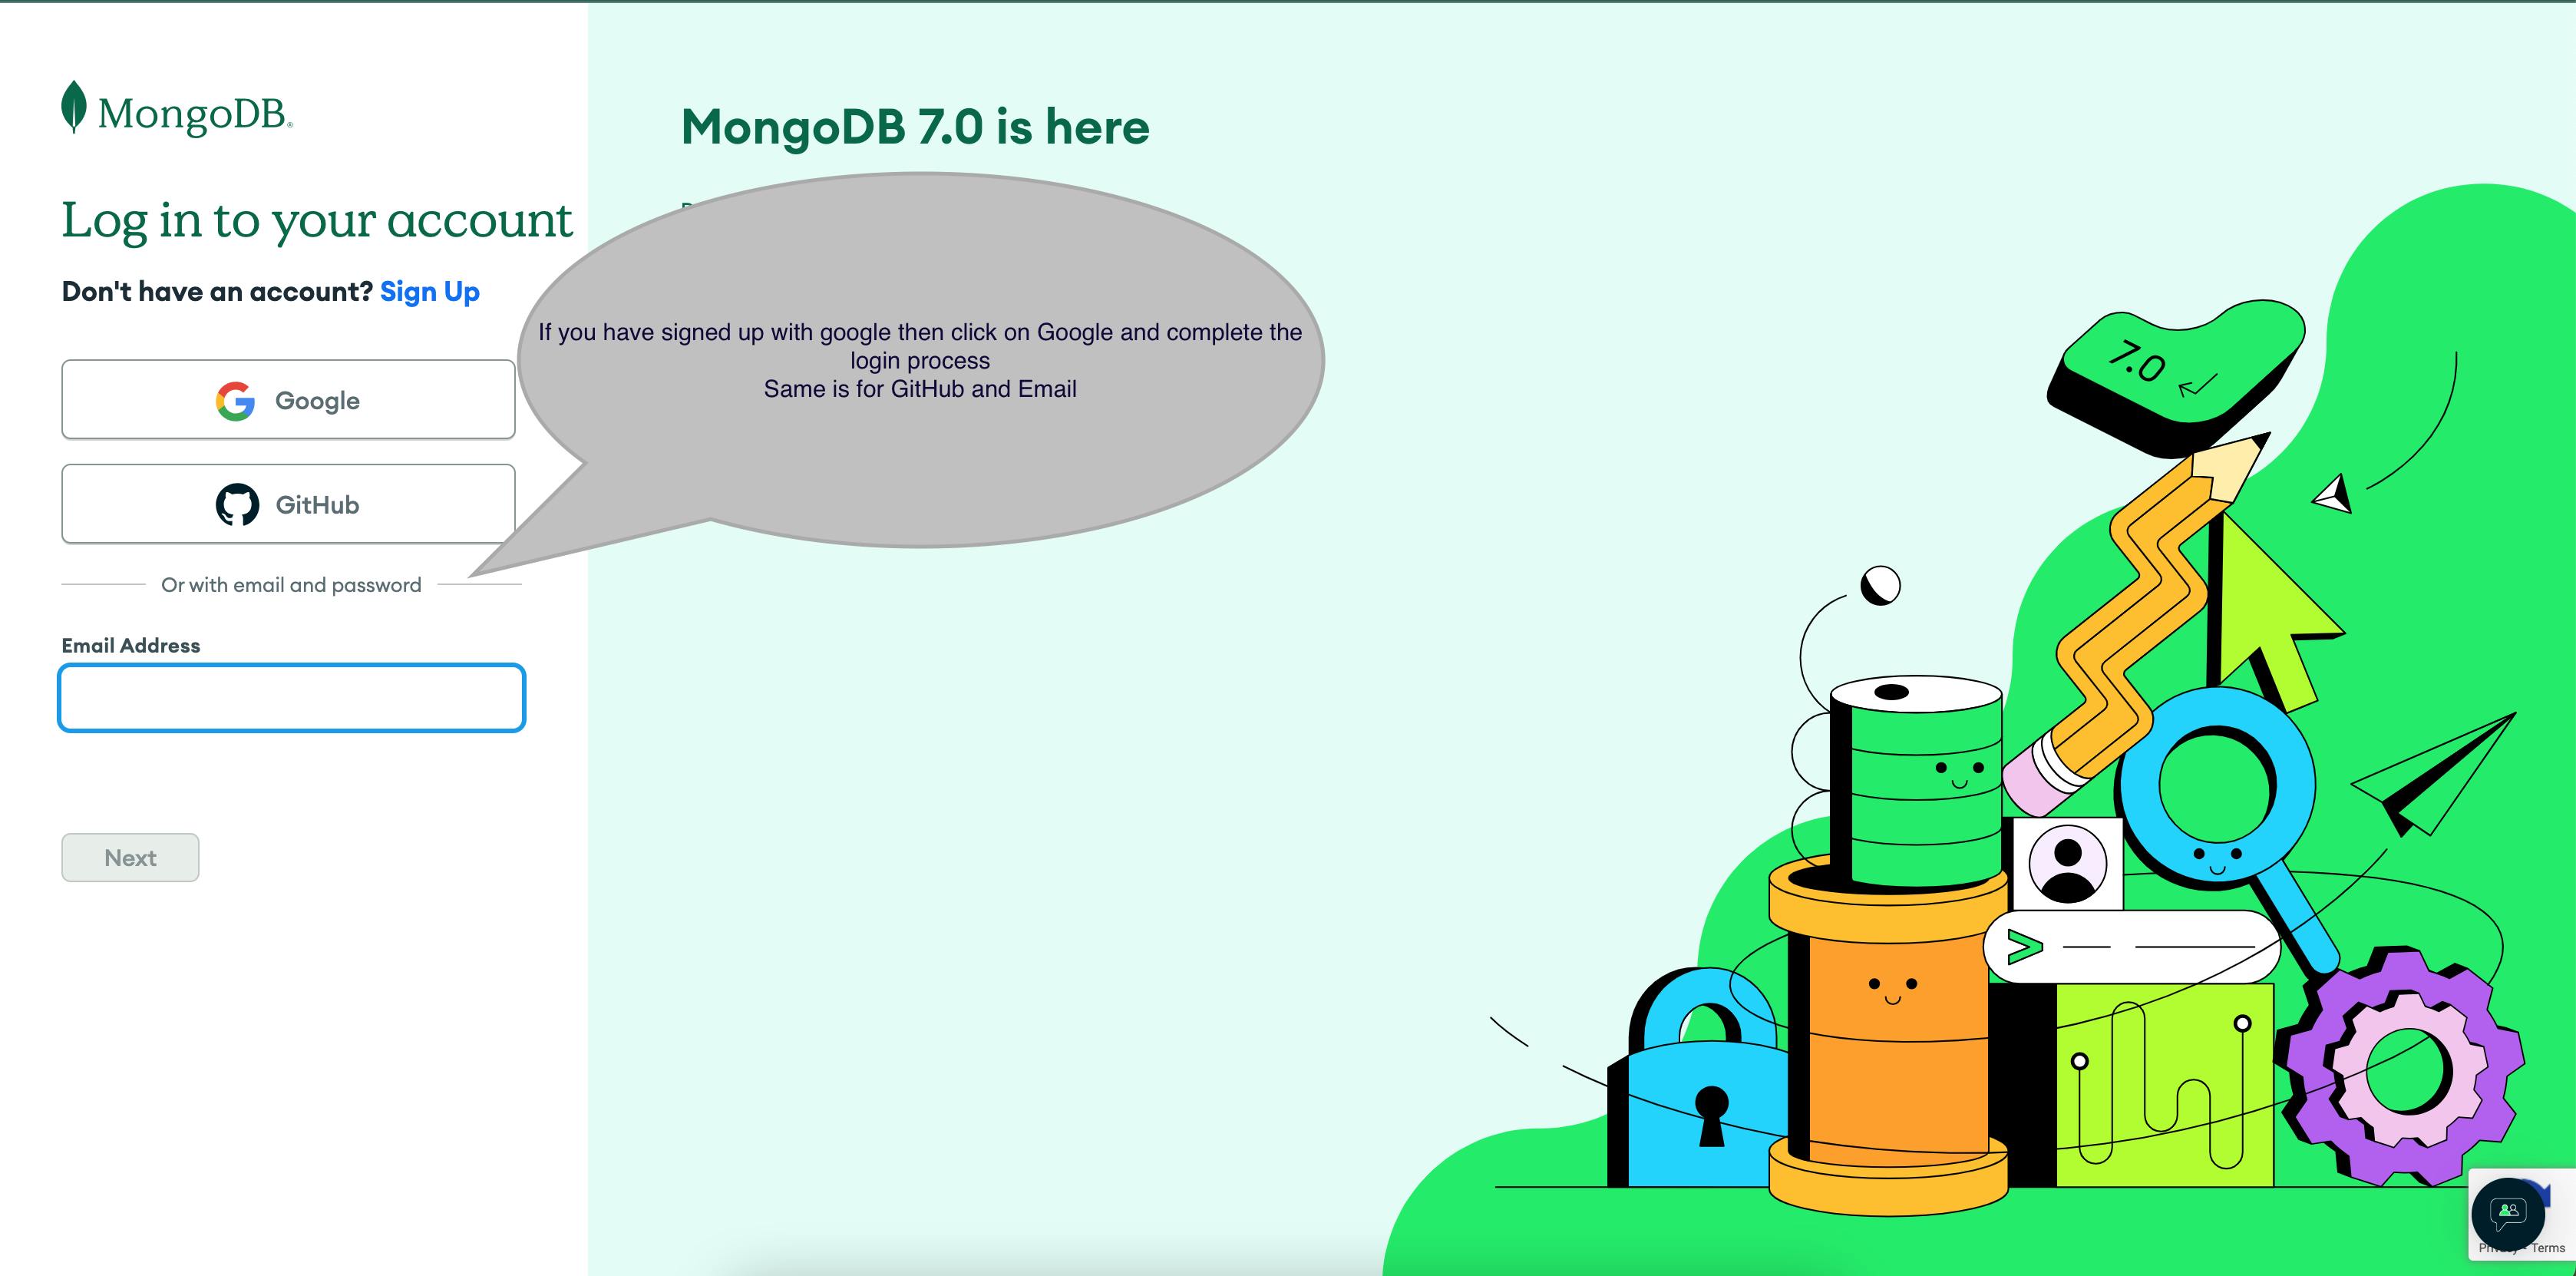
After clicking on SignIn this screen appears and click on your preferred method to Sign In
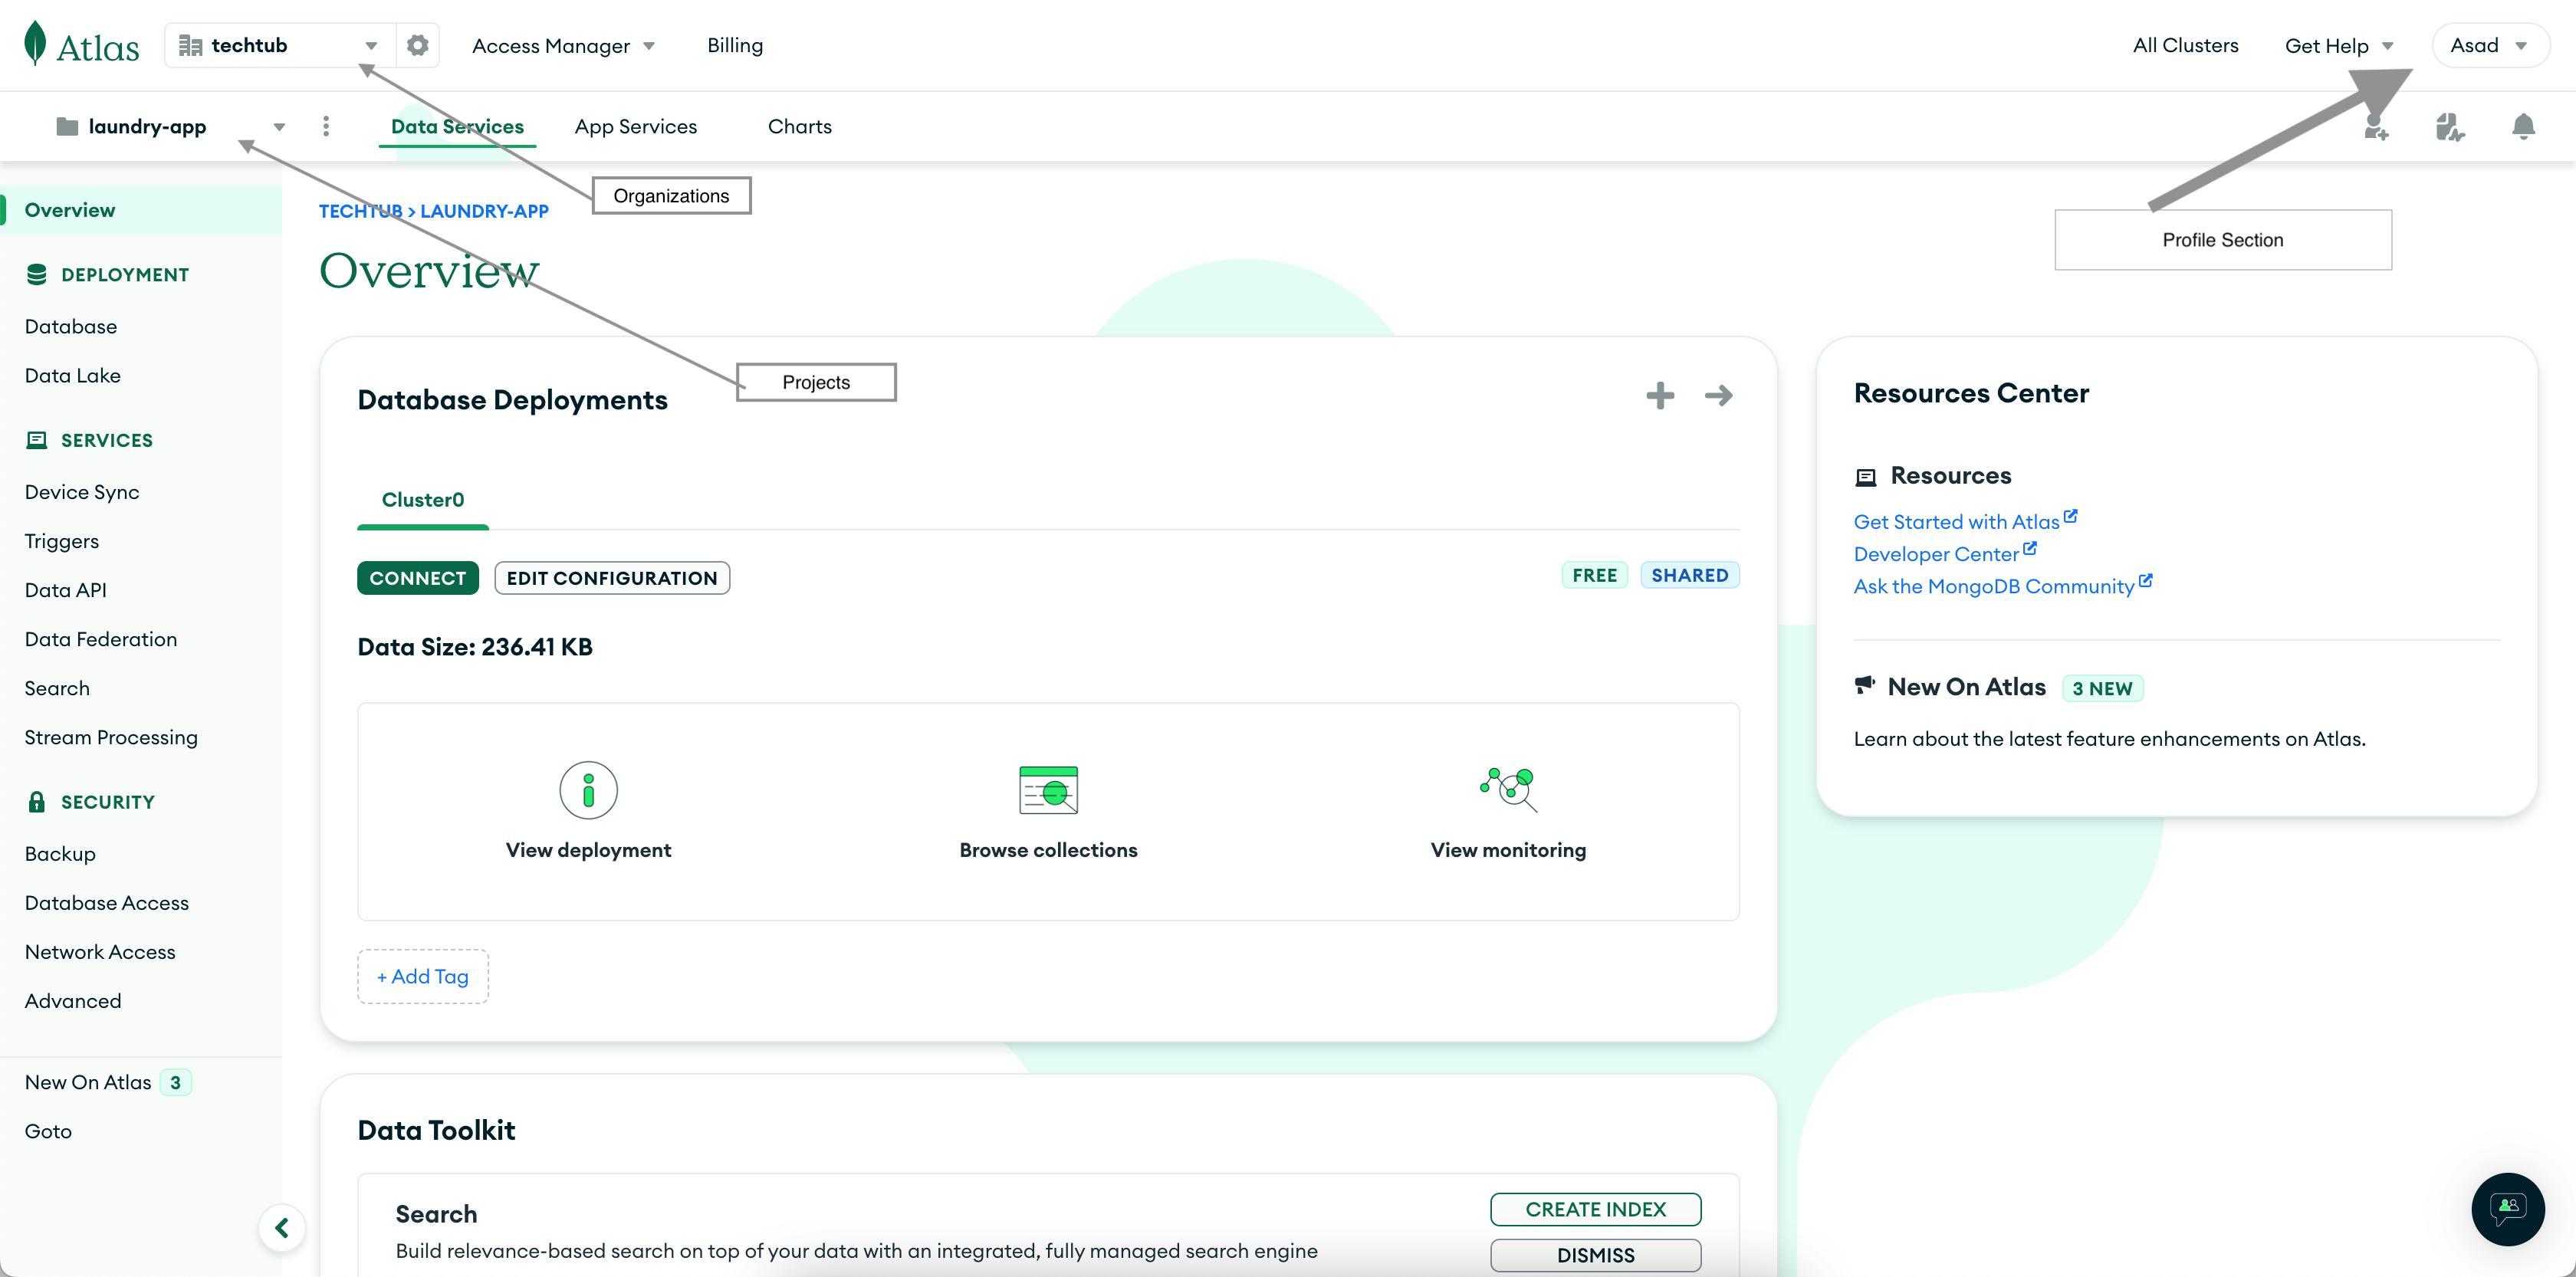
After Login the Dashboard Will look like this, there is an organization and Projects section we will be concerned more.
Create an organization
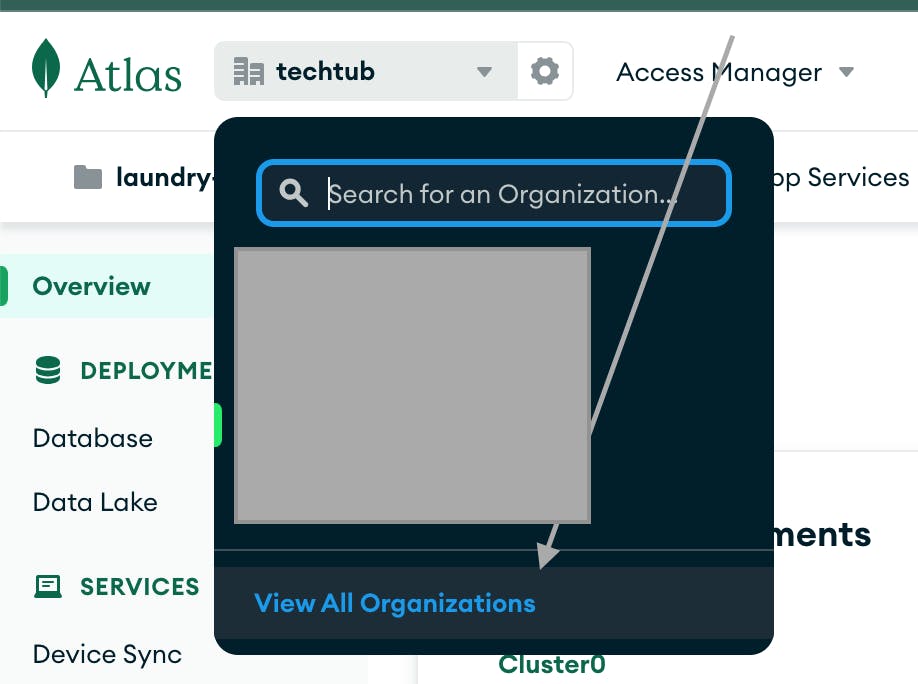
Then click on Create Organization
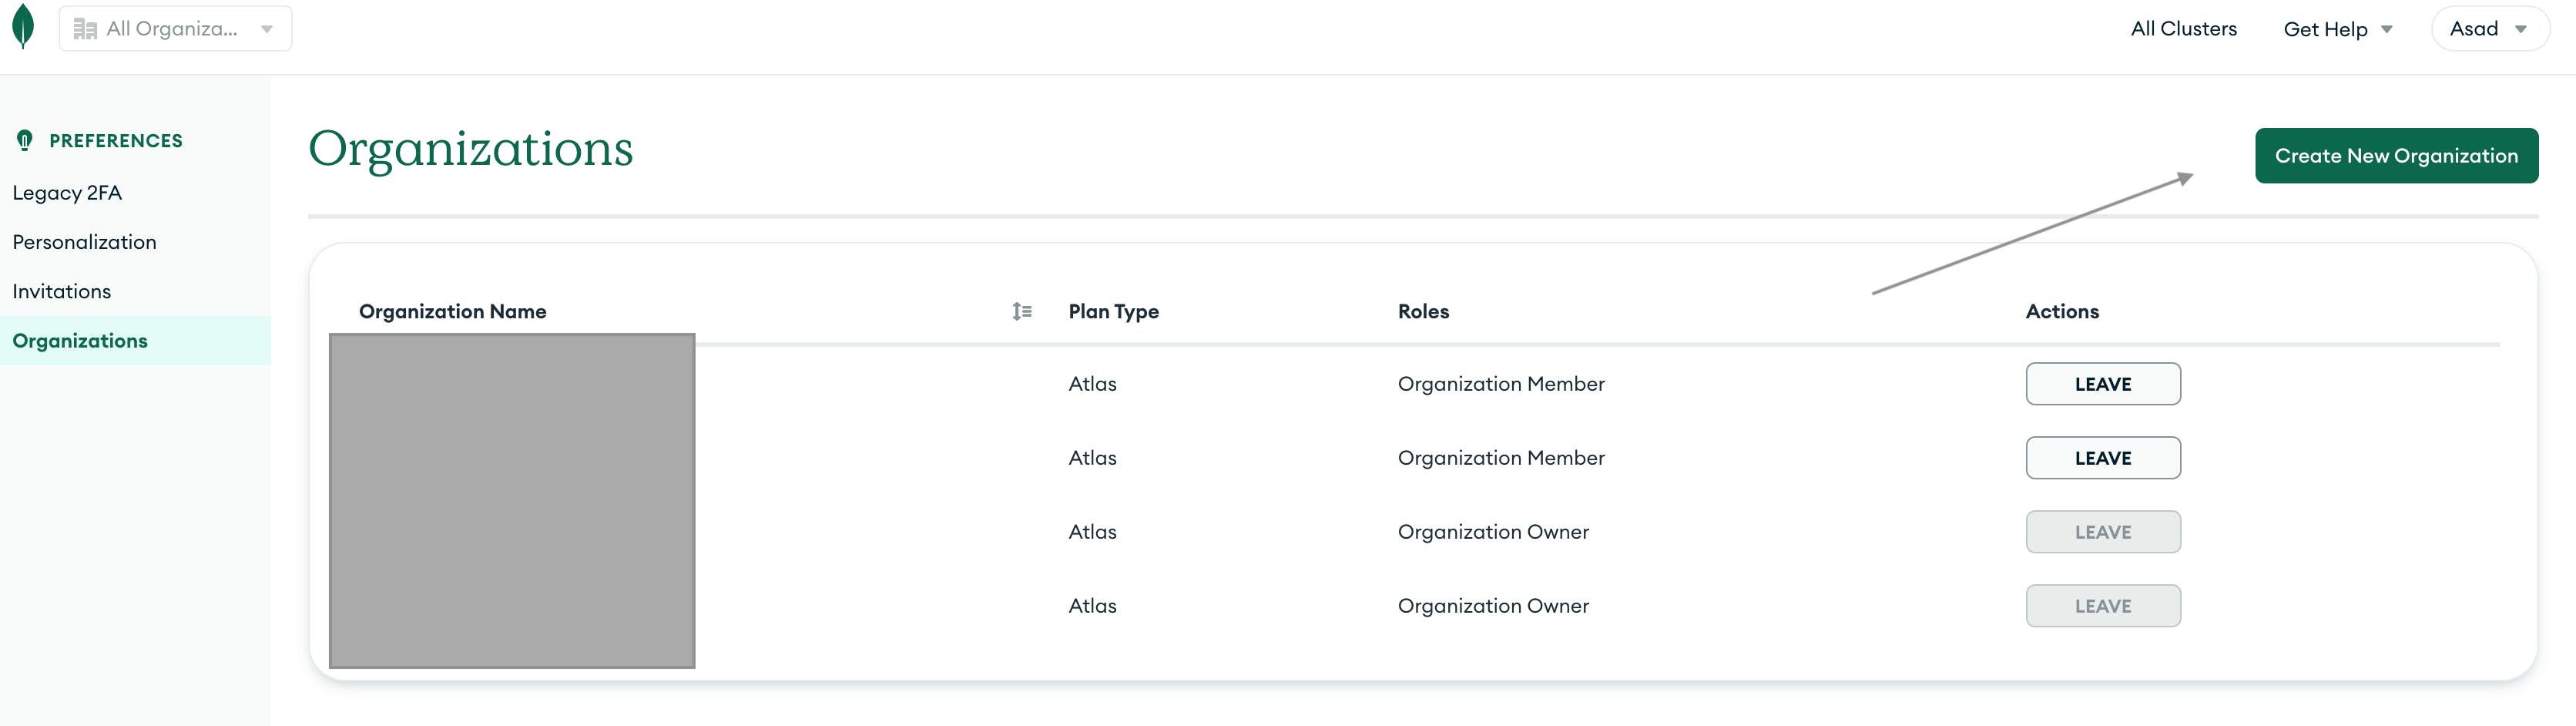
then write a name of your choice select Atlas plan and click on the Next Button
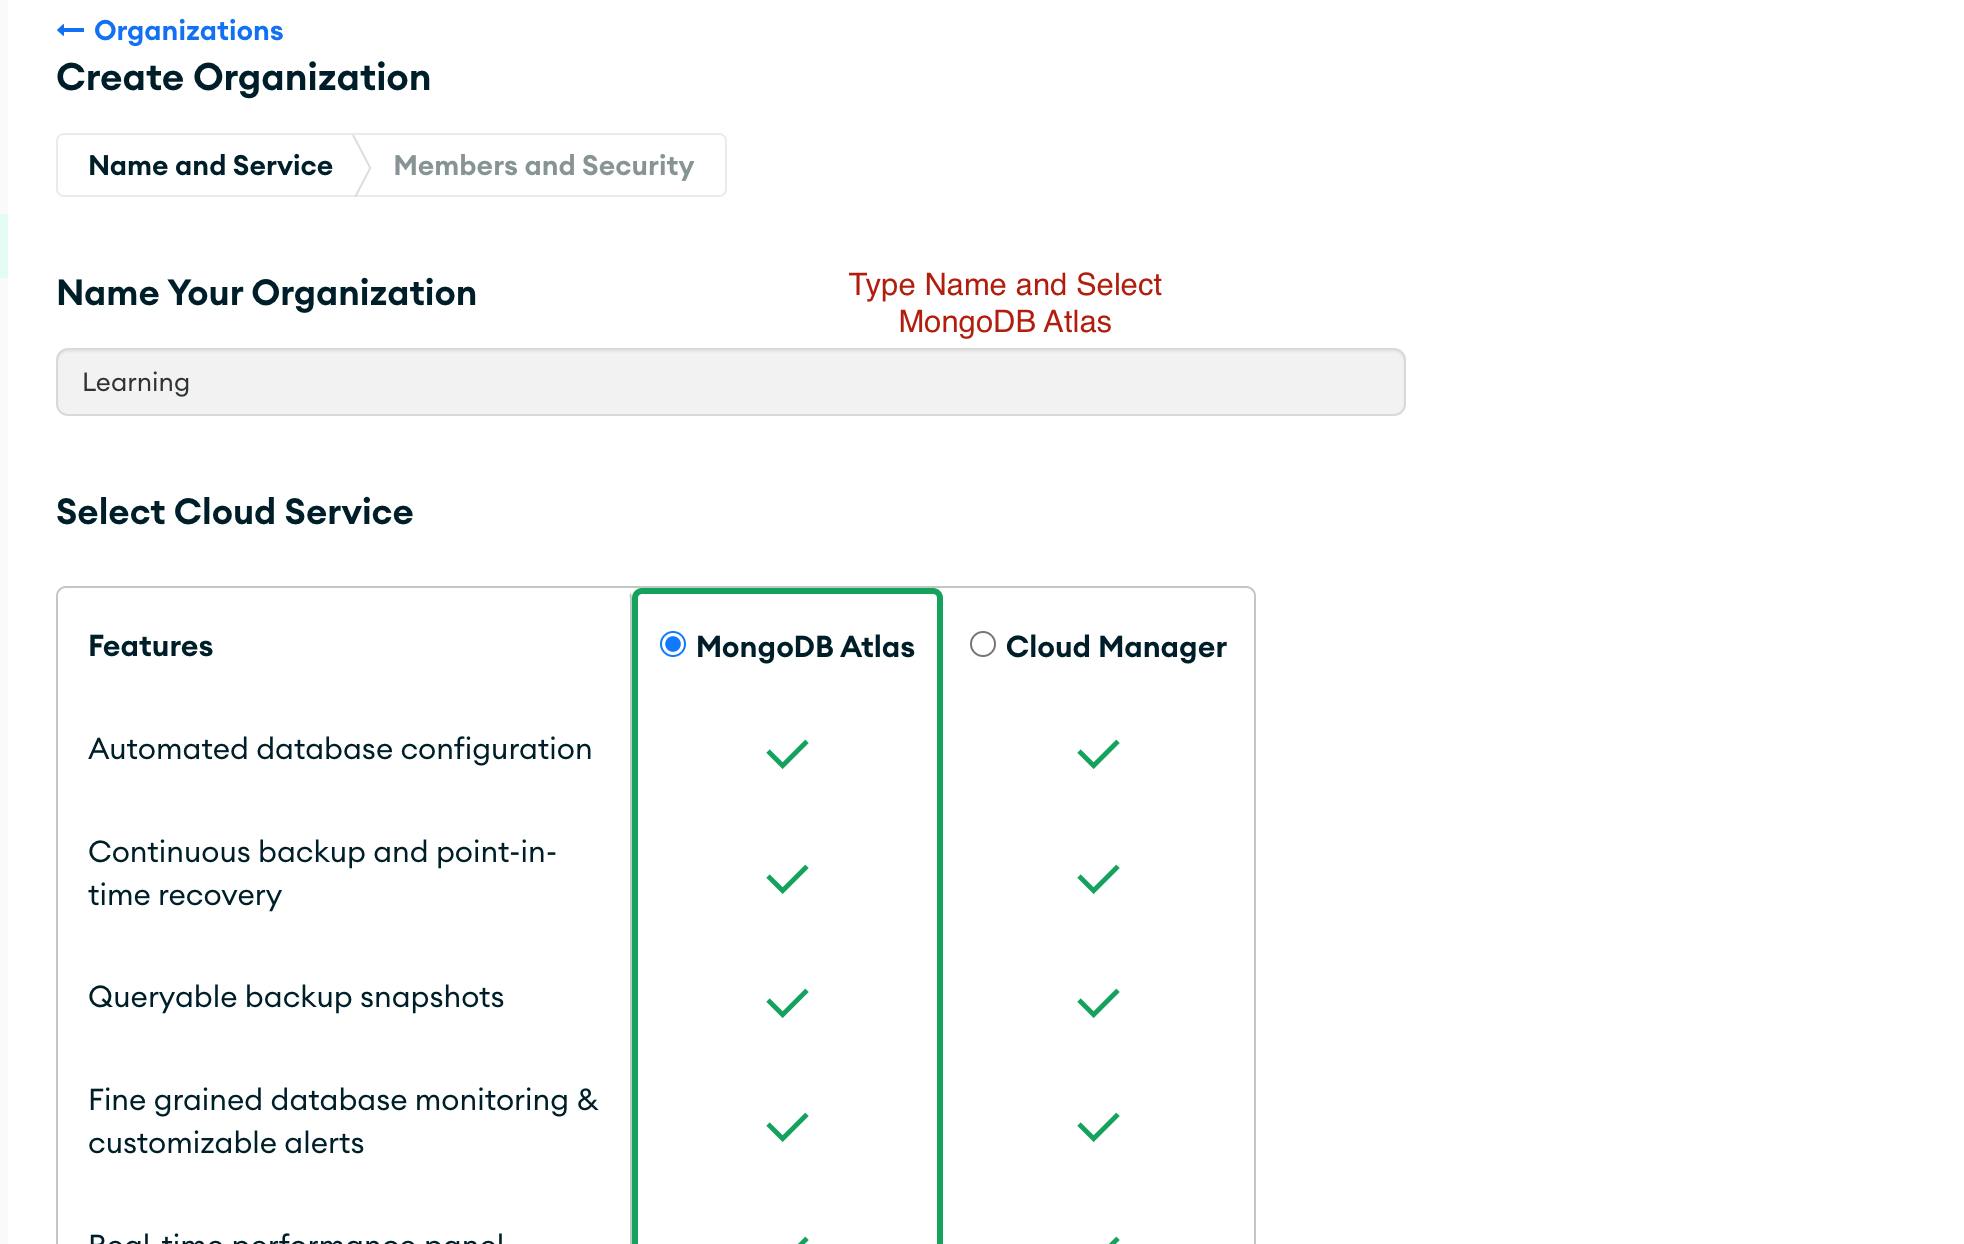
Now your organization is ready and now we have to create a project on which we are working.
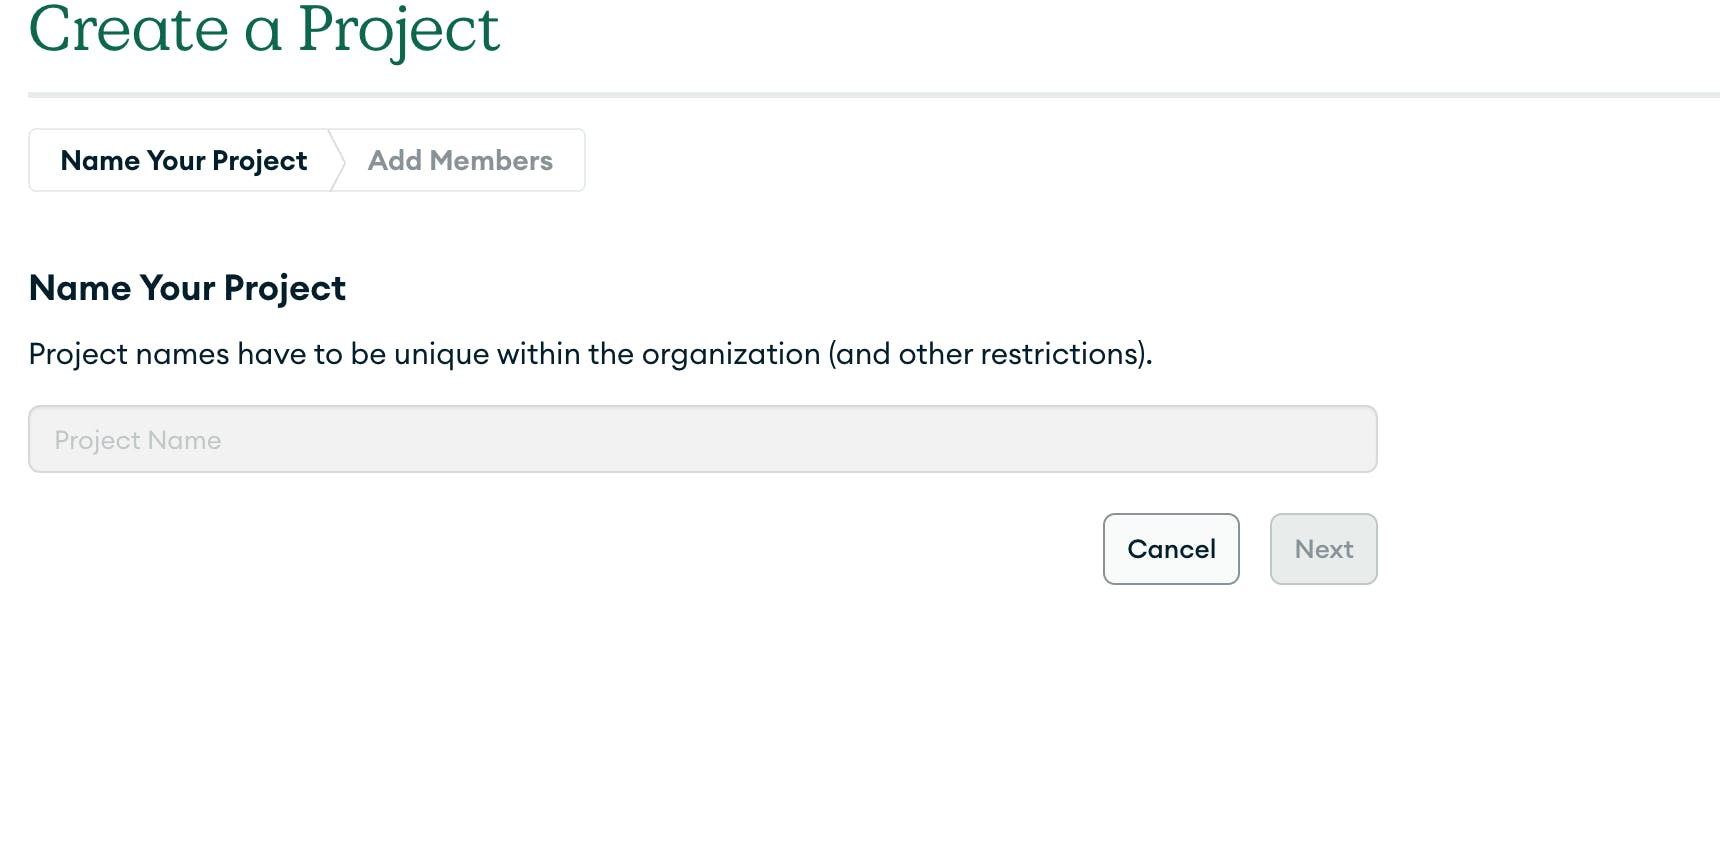
Create a Project
After Creating an organization Create project screen will appear then create a project and add members if you want to.
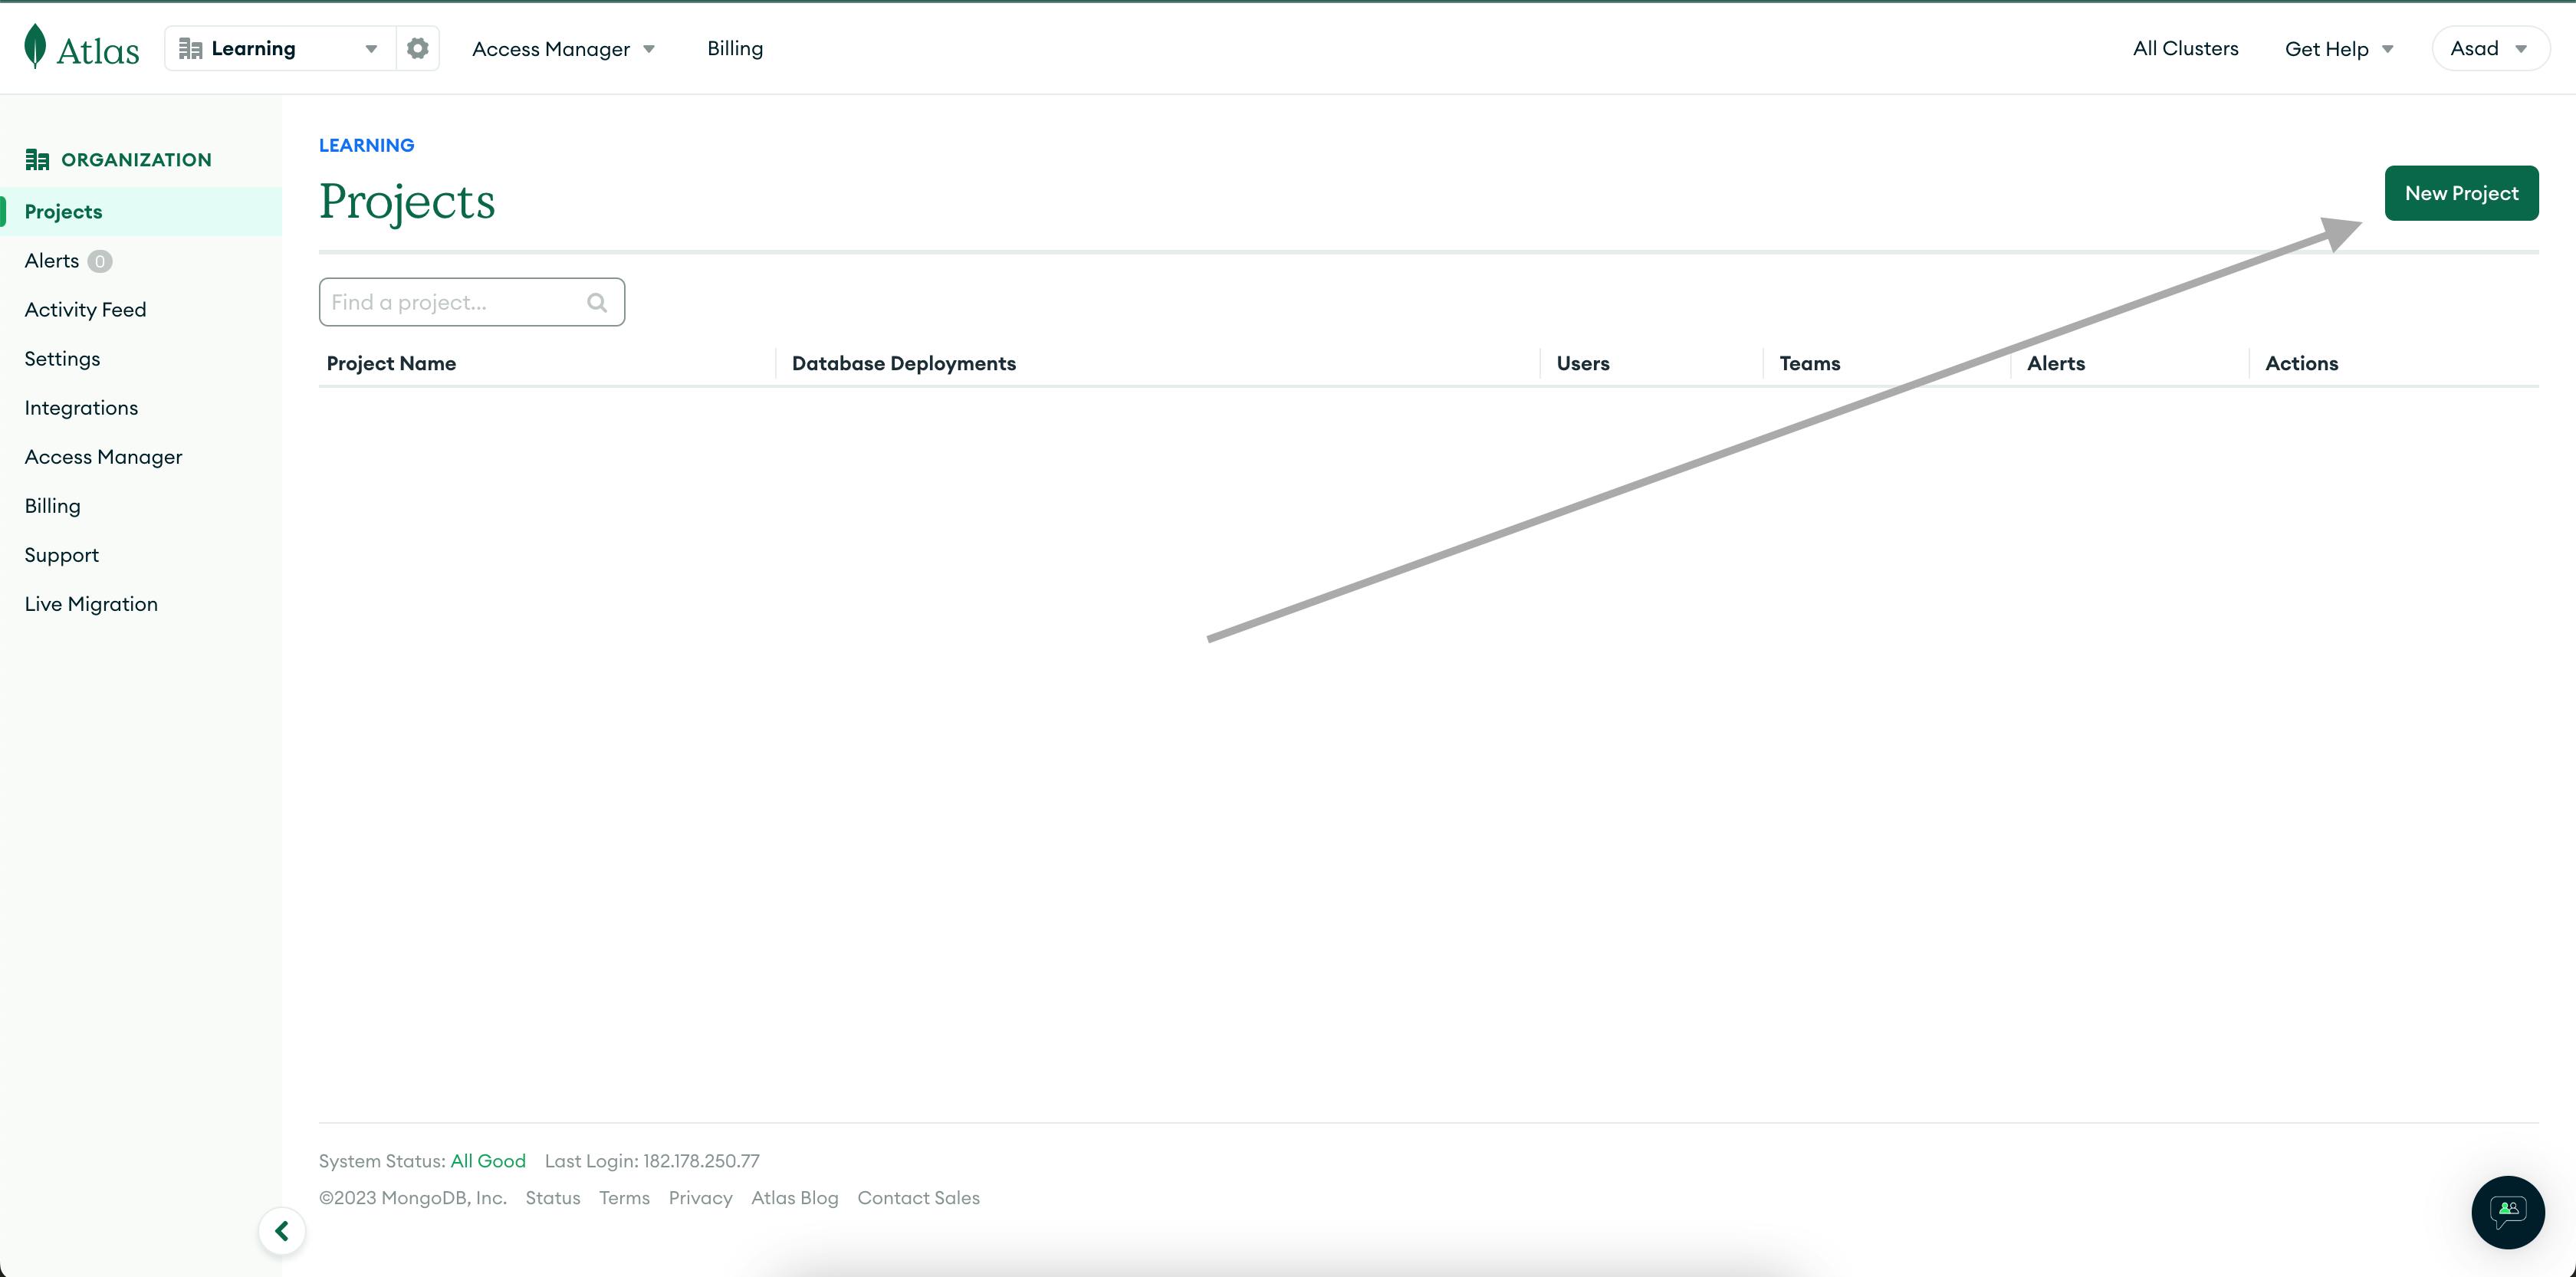
Then Enter the name of your project.
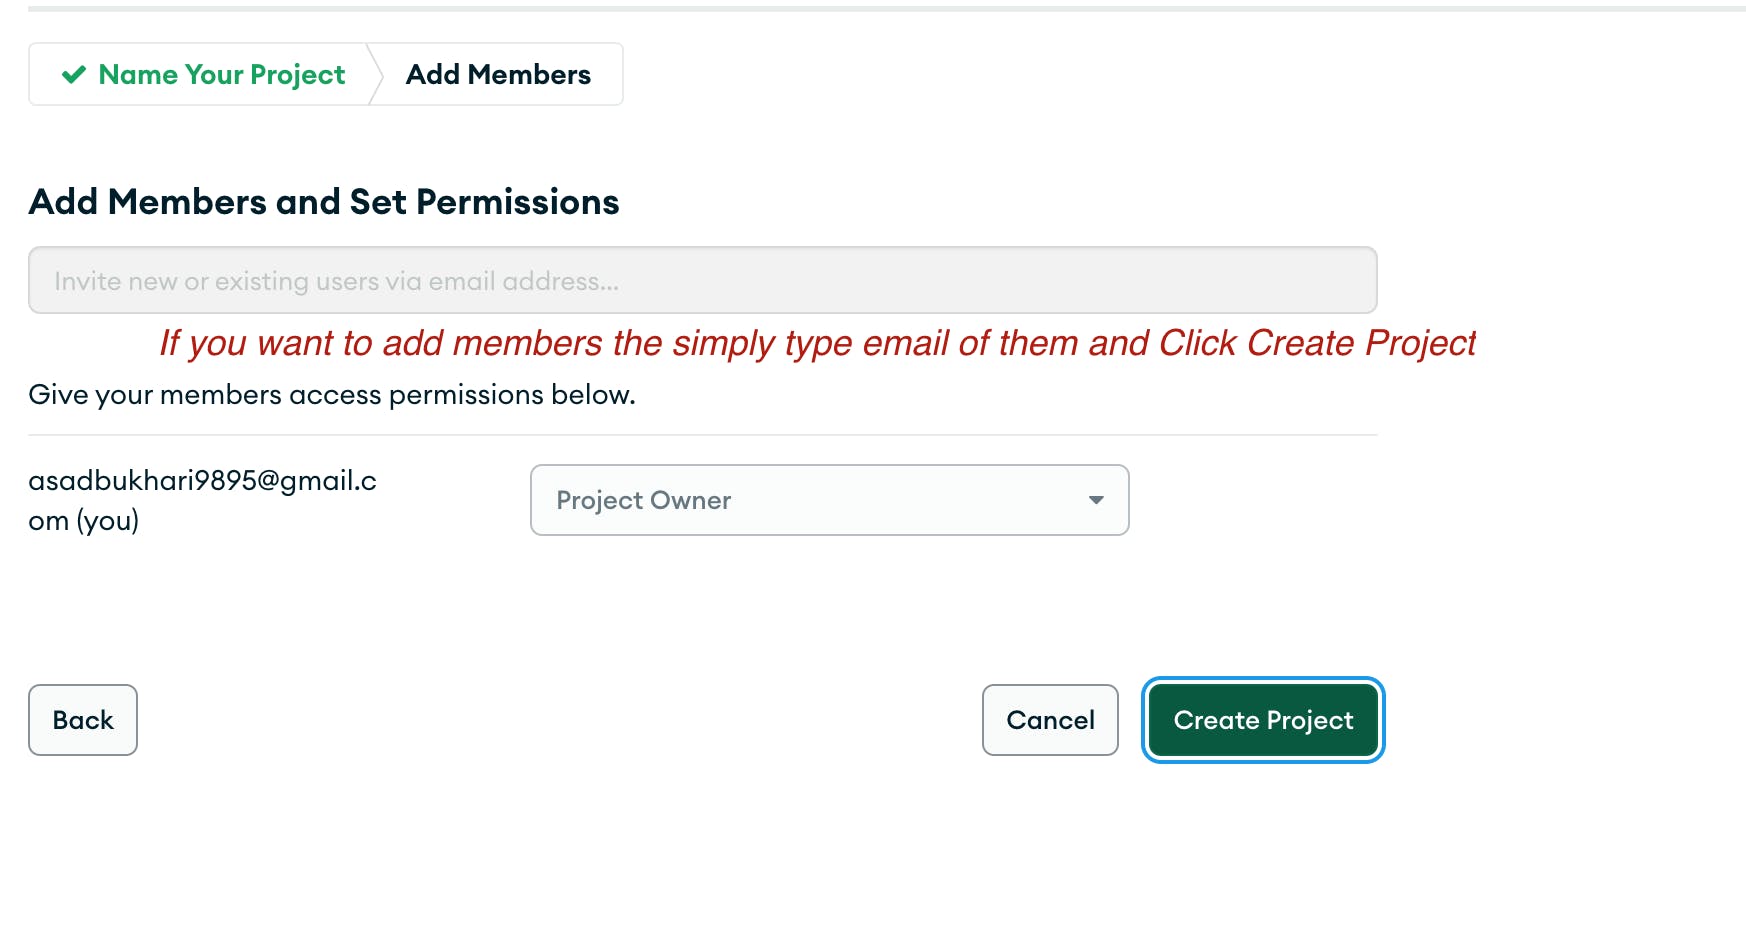
Then Add Members is Optional If you want someone to this project then type Email and click on Create Project.
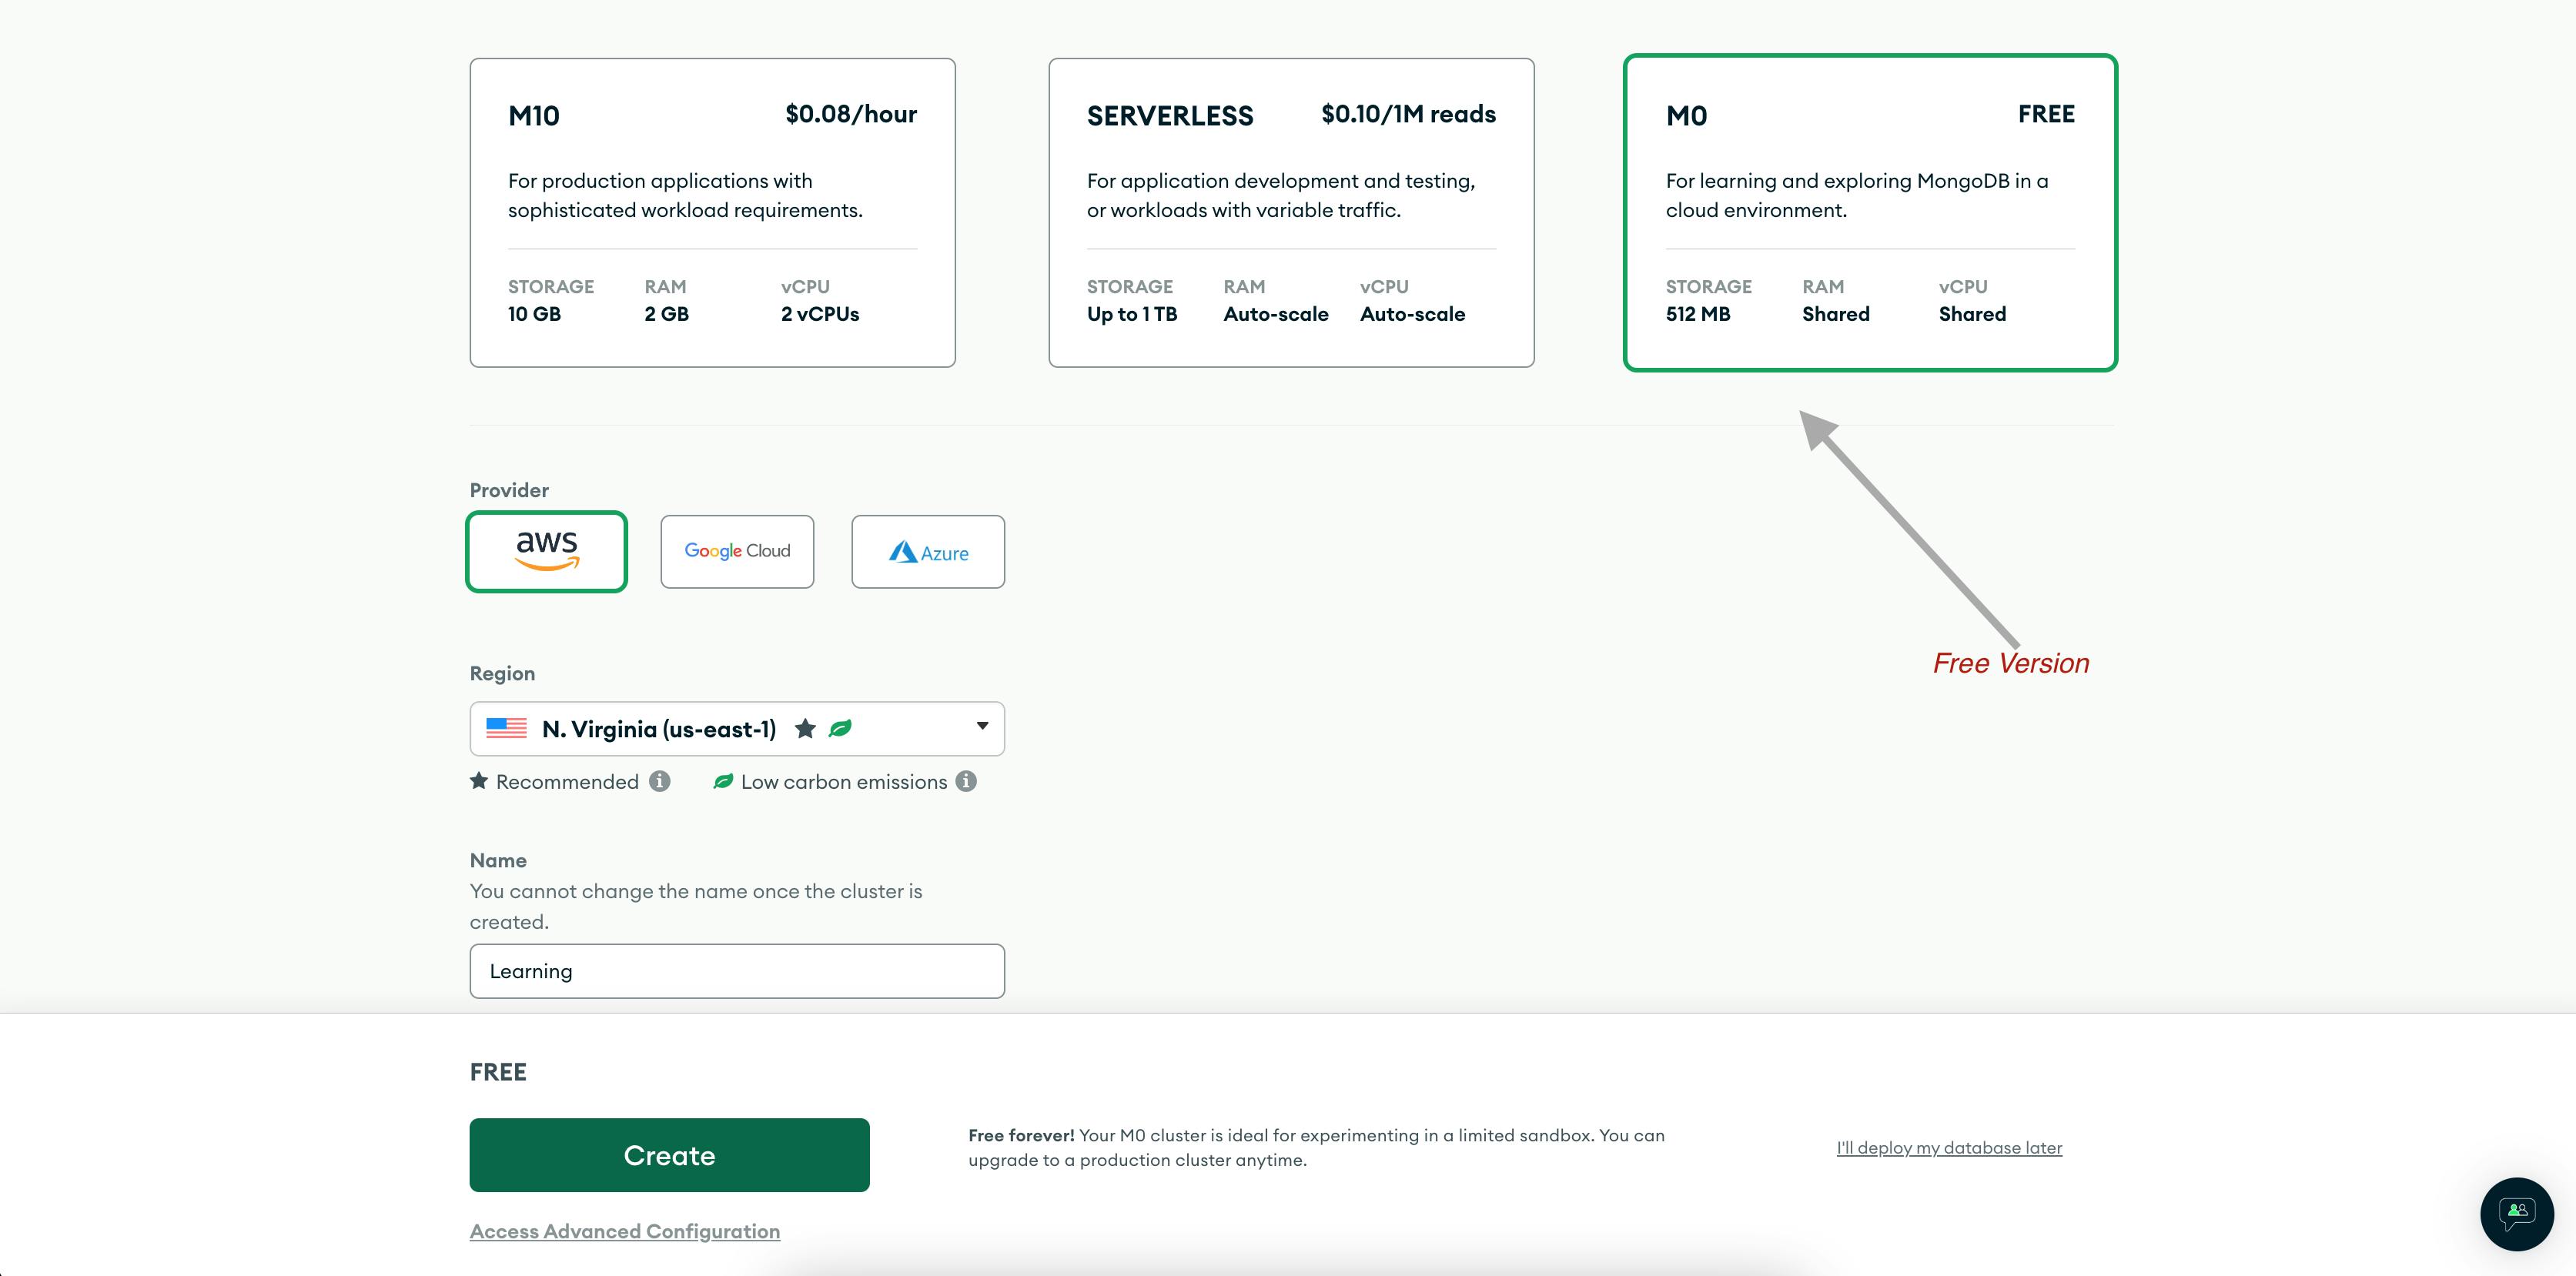
Now It's time to create a Cluster. Click on the Create a Deployment Button and then select free from a list of many tiers and leave other things as it is or you can change the name of the cluster and the Provider
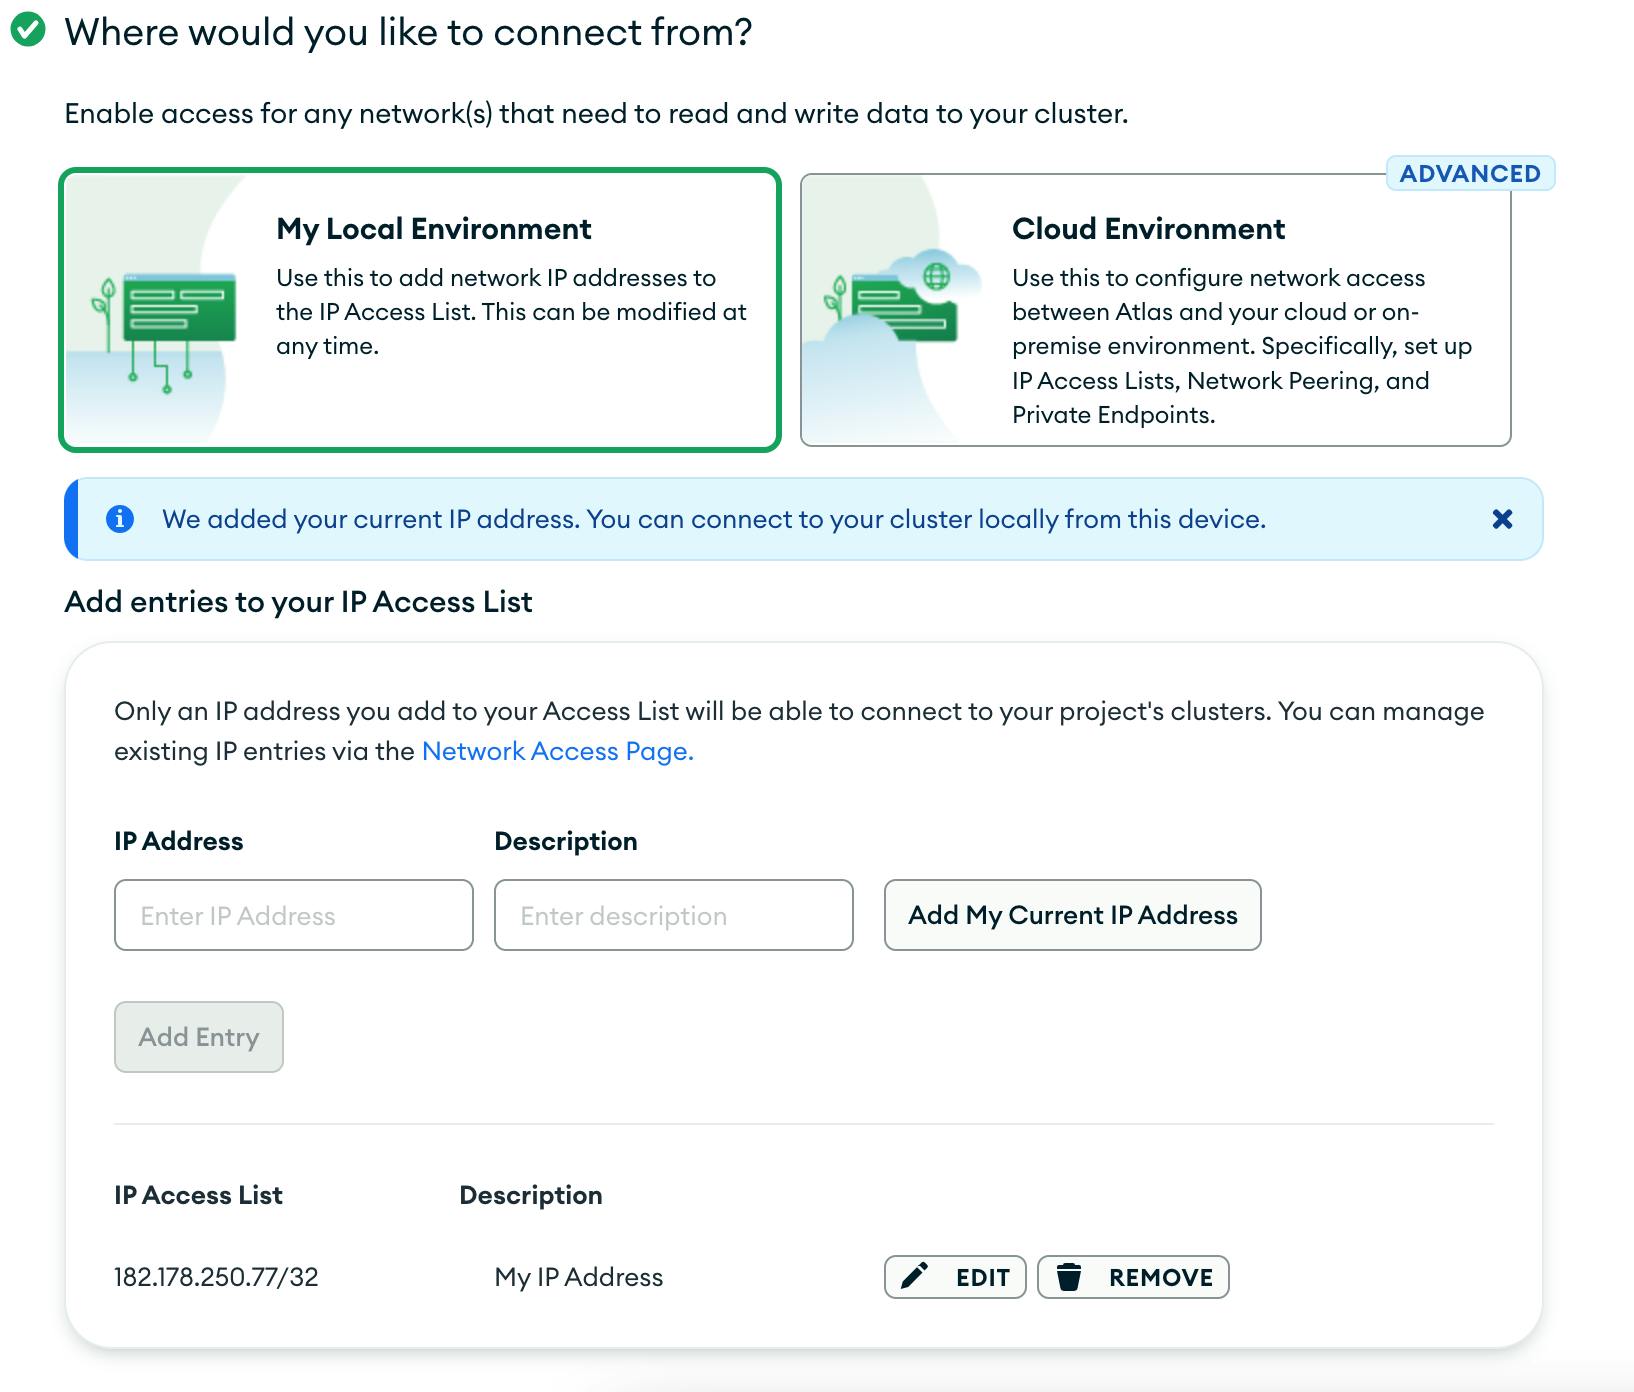
Once the Cluster is created a screen appears Asking for a username and password to access this Database and whitelist IP addresses to access this DB.
Create a user
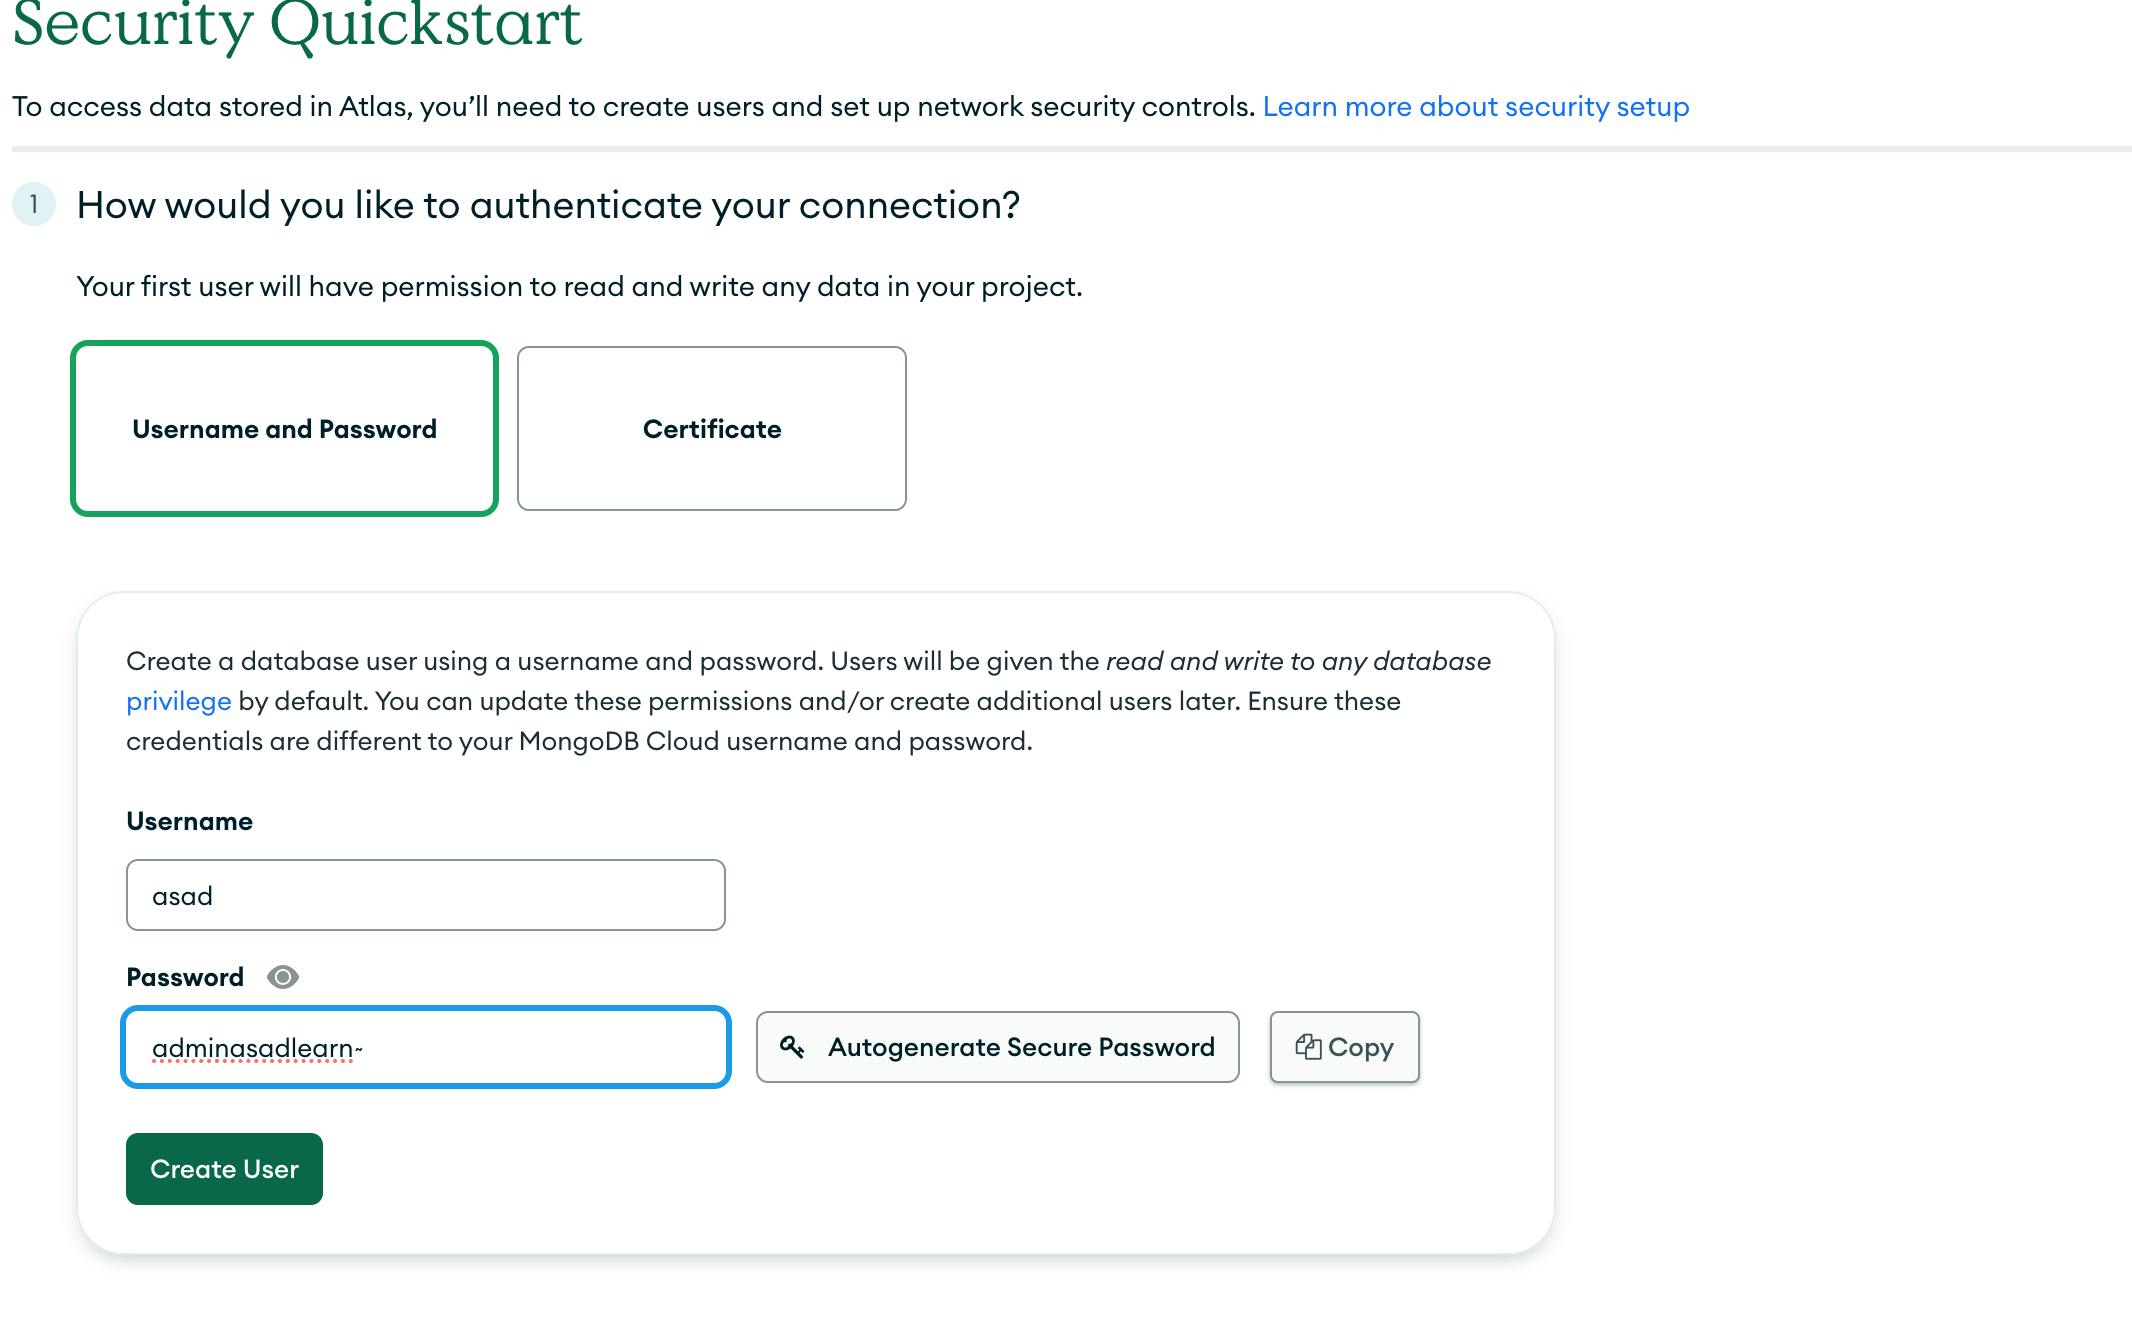
Click on Add my current IP and then click on Finish and close. We have an option to edit this afterward.
The next step is to create a database and add collections(tables) to it. Atlas allows us to load data using multiple methods:
Create a Dataset on Atlas
Create Data using the application
Using Mongo Shell
We are doing this on Atlas so go with the first Method(On Atlas)
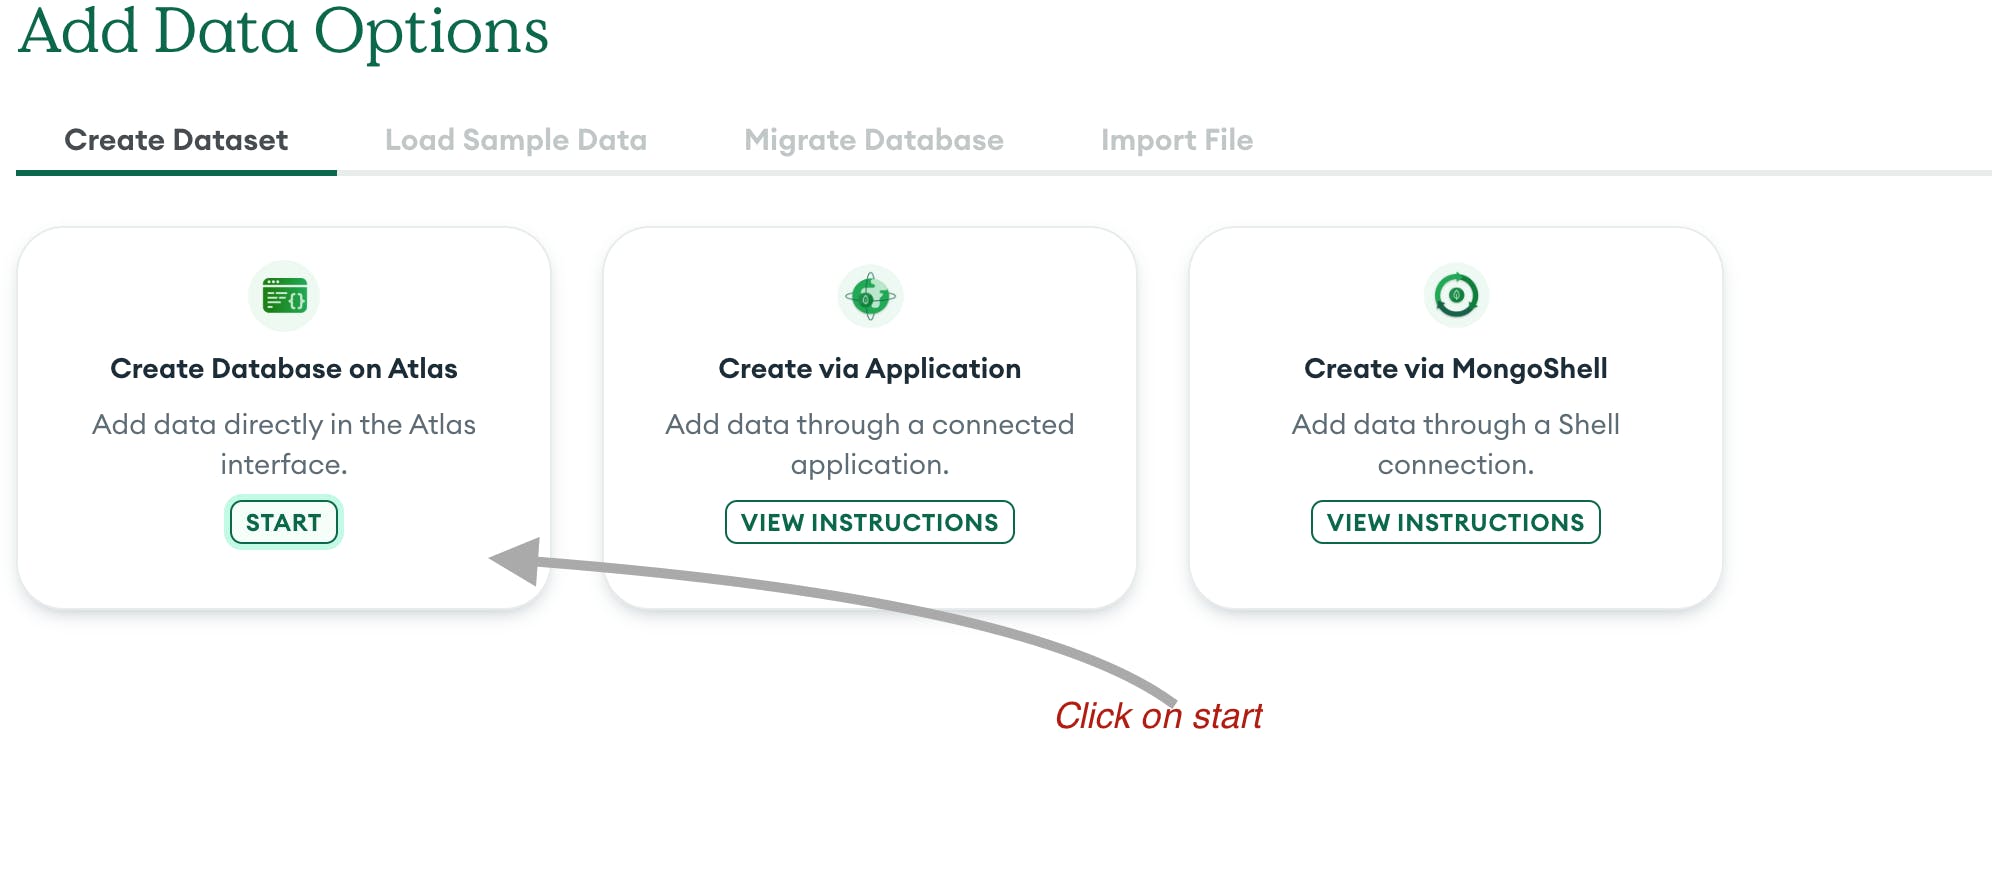
Click on Add Data to choose a method by which we can create a Database and collections

Choose the first option
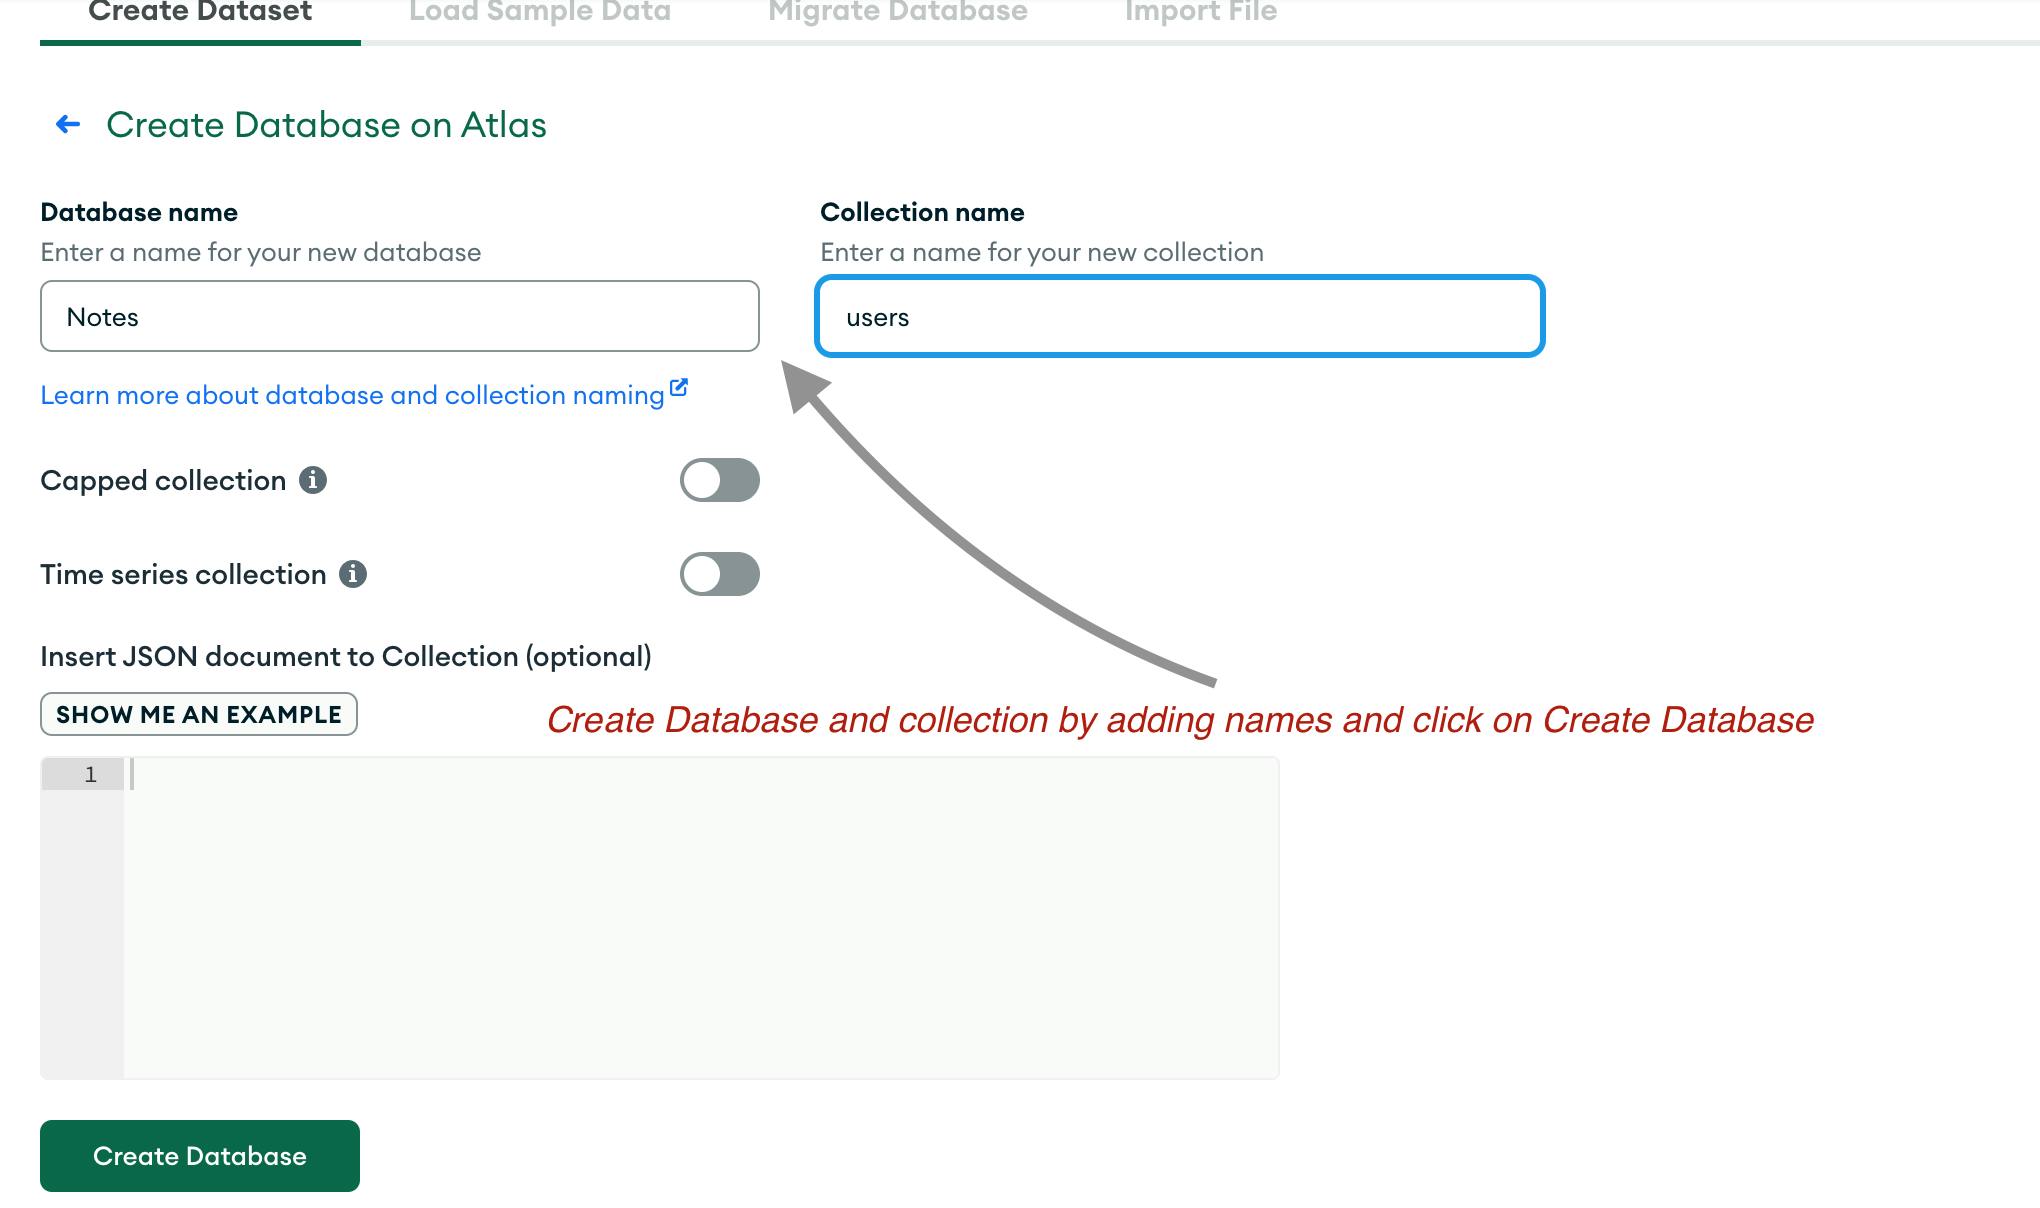
Write the Database name and a collection name then click on the Create Database button to complete the Database creation process
Now you have Successfully created a Database and a collection in it a Dashboard like this appears in front of you where you have the option to add data delete a collection or a database

If you want to use this Database and collections in your code then you need a connection string from the dashboard.
Click on overview and then click on the connect button a modal opens and gets your connection string.
Click on divers and then choose your programming language from the list of drivers and versions. then follow these steps to get the driver and get a connection string then replace <password> with your user password.
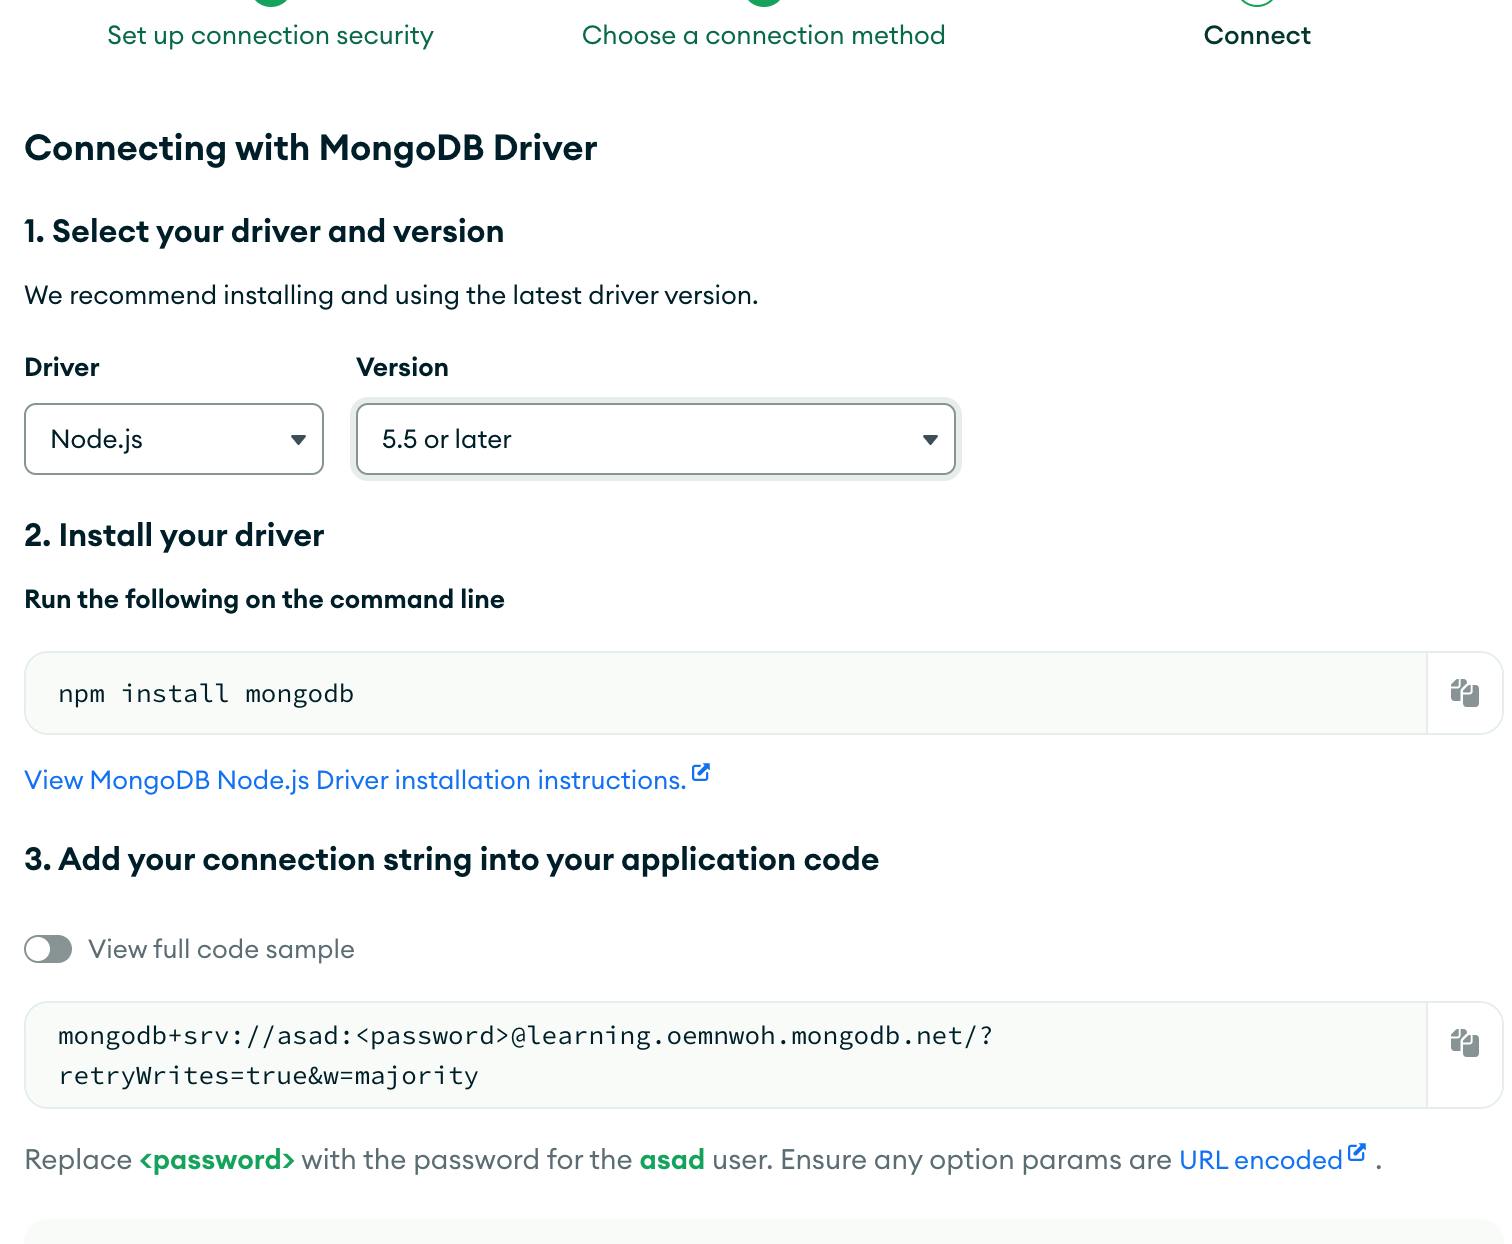
Copy this connection string and start using it in your code.
Happy coding
Check out this video by @RayanAbid in which the blog is featured.